WePay closed its UK operations in August 2023. Customers will not be able to add a new WePay connection to their Keap account. There will be more information to come.
WePay eliminates stress for small businesses needing to accept credit cards. With WePay, it’s easy to accept credit cards in minutes. WePay offers fast setup, transparent pricing and integrated, painless processing. Take the stress out of getting paid and get back to running your business.
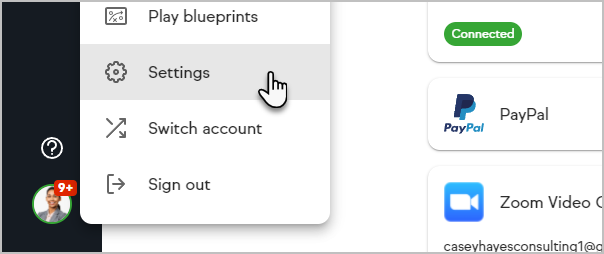
- Click on your avatar and choose Settings from the lower left of the page
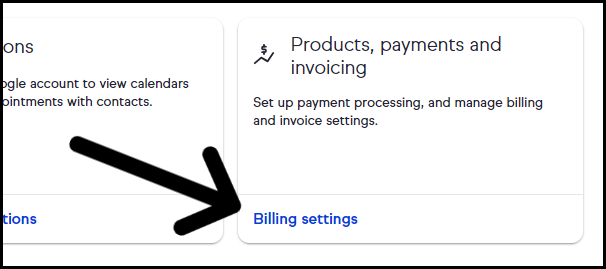
- Click "Billing Settings"
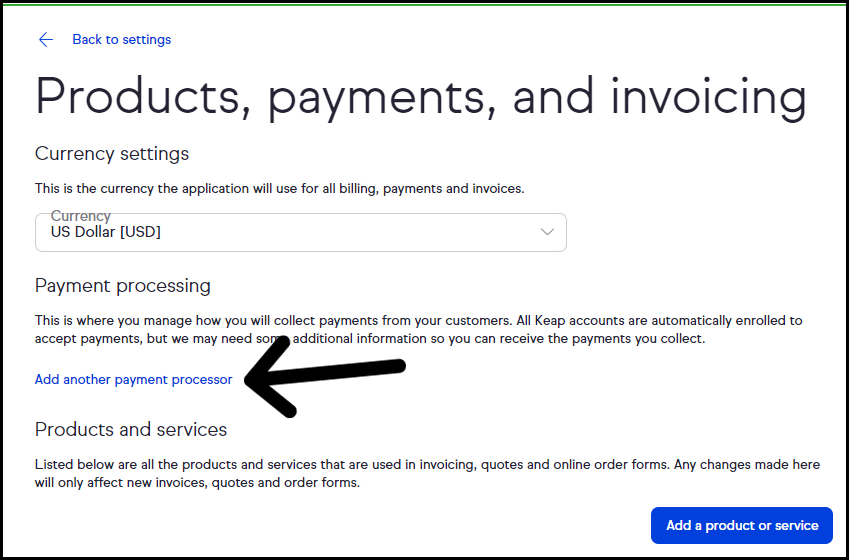
- Click "add another payment processor"
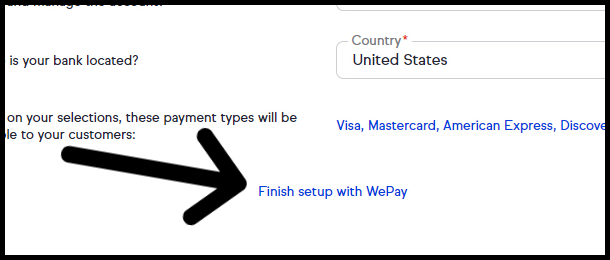
- Click "Finish setup with WePay"
- A pop-up stating "You're ready to get paid" will give you the option create an invoice or not
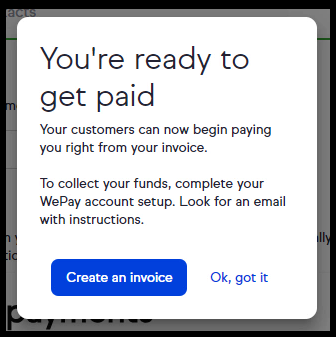
- If you click "Ok, got it" you will be directed to you email for "Please set up your WePay account"
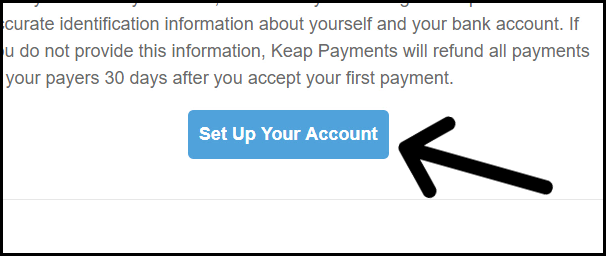
- Scroll to the bottom and click "Set up your account"
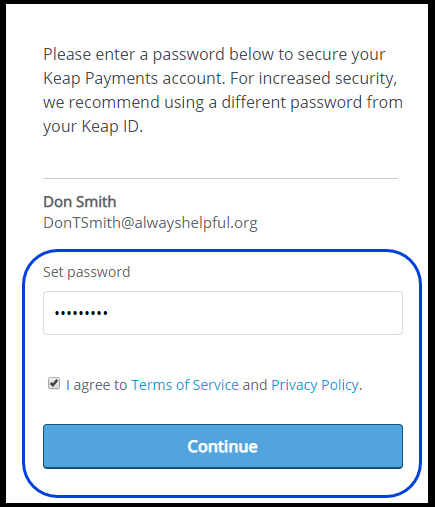
- To set up your account
- Set your password
- Accept the "Terms of service" and "Privacy policy"
- Click "Continue"


- Choose your entity type
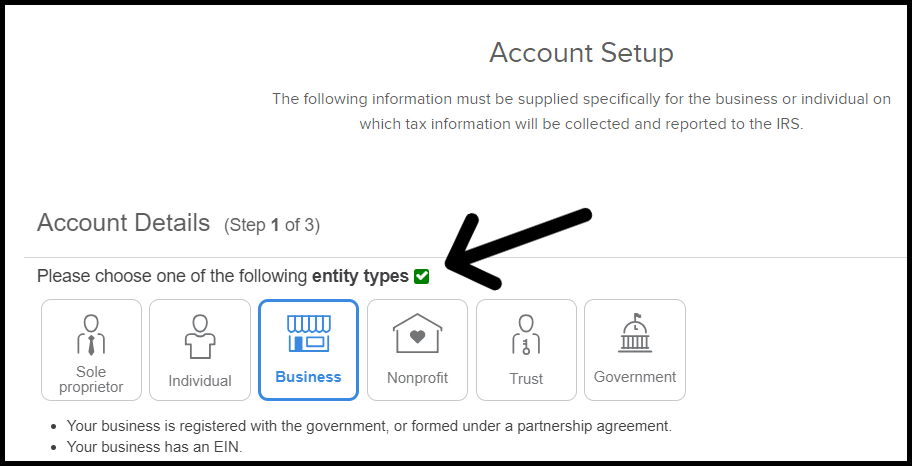
- Scroll down and click "Next"

- As soon as the "Next" button has a white cast to it, scroll up

- Select your "Industry category" and "Industry type"

- Scroll down and click "Next"
- As soon as the "Next" button has a white cast to it, scroll up
- Enter your legal name and home address
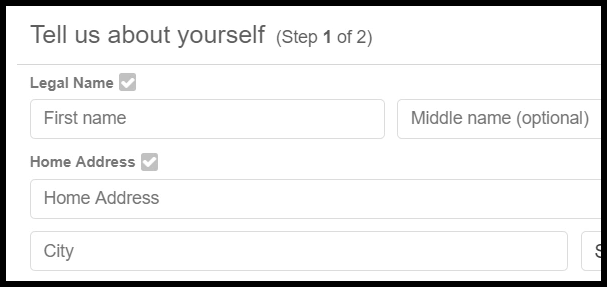
- Scroll down and click "Next"
- As soon as the "Next" button has a white cast to it, scroll up
- Enter your phone number, date of birth, and last 4 of your social security number
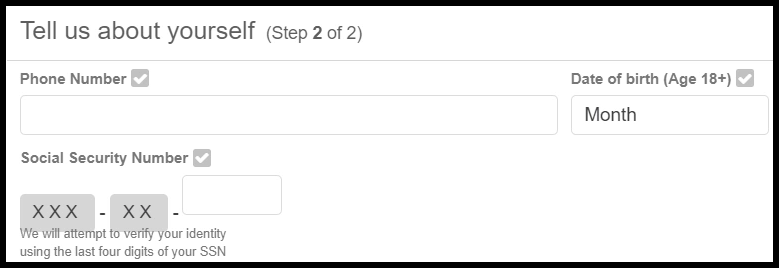
- Scroll down and click "Next"
- As soon as the "Next" button has a white cast to it, scroll up
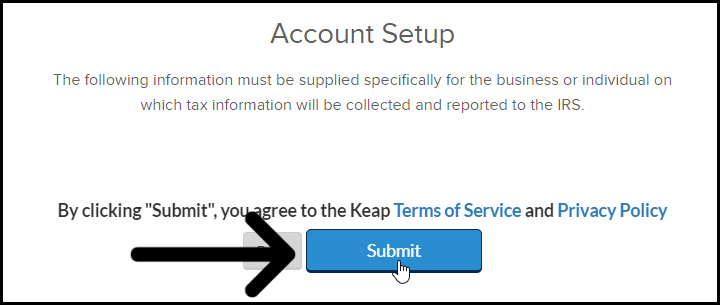
- Click "Submit" to complete account setup
- You can then add your settlement details


