Automating your repetitive tasks just got as simple as “when” and “then”. For example, when someone fills out your public form, then Keap can send them a welcome email. Or assign you a task. Or both. Or… Well, let’s just say there’s a lot more.
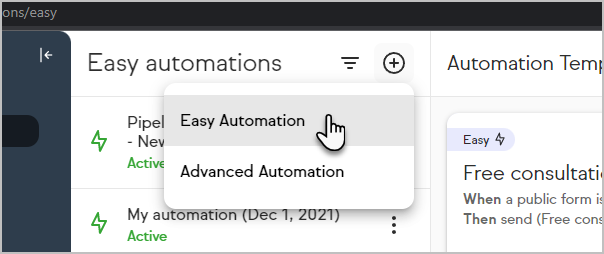
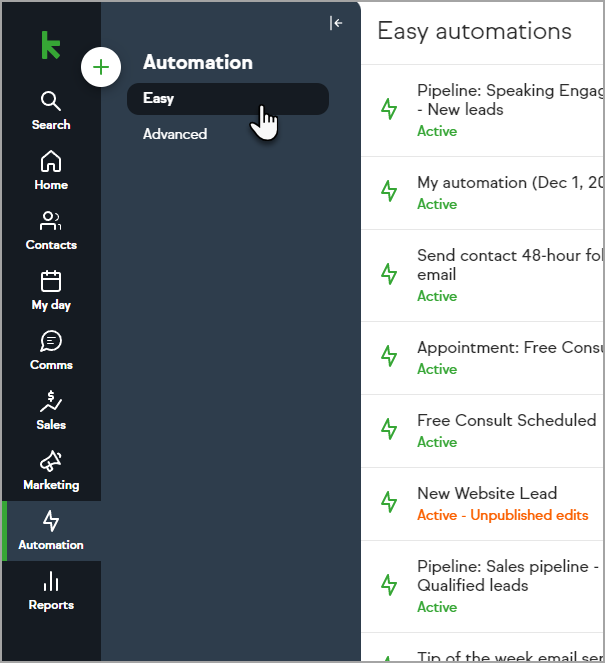
Access Easy Automations by clicking Automation > Easy item in the menu
Automation when conditions
Easy Automations are started by "when" conditions being fulfilled. You can choose one of the following to trigger your automation:
- A new appointment is scheduled
- An appointment is cancelled
- A public form or internal form receives a submission
- A product is purchased (either a specific product or any product)
- An invoice is sent
- An invoice is paid
- A quote is sent
- A quote is accepted
- Deal enters stage
- Deal exits stage
- A tag is added to a contact
Automation then conditions
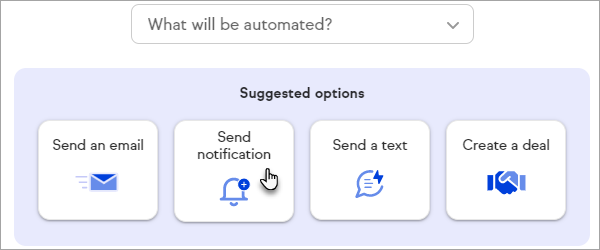
Once your automation is started, you can configure one or multiple events to happen. You can choose any of the following events:
- Send an email to the contact who triggered the automation
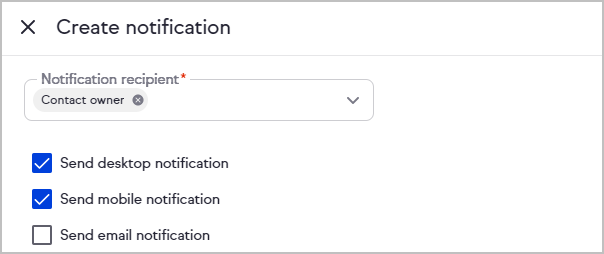
- Send a notification (desktop, mobile*, and/or email) to all your users, the contact's owner, or a specific user
- Create a deal
- Add a tag to the contact who triggered the automation
- Remove a tag from the contact who triggered the automation
- Create a task for the contact who triggered the automation that can be assigned to the contact owner or a specific user
- Create a Pipeline deal (Pro only)
- Email Notification Limitation**
*Mobile notifications require the Keap user to have installed the Keap Mobile app.
**Email notifications accessed from Ultimate currently have a limitation where links to view the record do not work properly.
Automation stop conditions
Contacts can be removed from an Easy Automation when they meet a stop condition. In order to use a stop condition, your automation must contain at least one "then" You can choose one of the following to stop your automation:
- A new appointment is scheduled
- A public form or internal form receives a submission
- A product is purchased (either a specific product or any product)
- A quote is accepted
- An appointment is cancelled (only available when automation is started by an appointment being scheduled)
- An invoice is paid (only available when automation is started by an invoice being sent)
- Deal enters stage
- Deal exits stage
- A tag is added to a contact
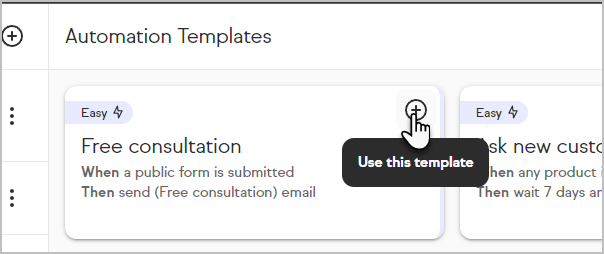
Use a template to create an automation
Quickly implement automation into your business with our templates. Each template includes a pre-written email that can be edited.
- Click the + plus button on the desired template
- Edit the automation as desired (refer to the other sections of this article for assistance)
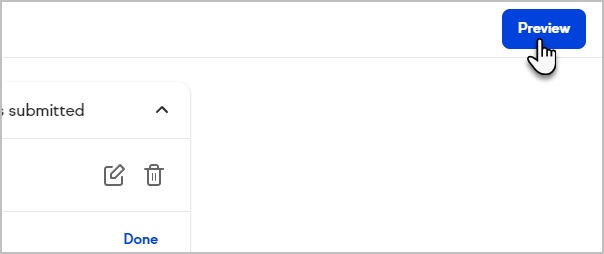
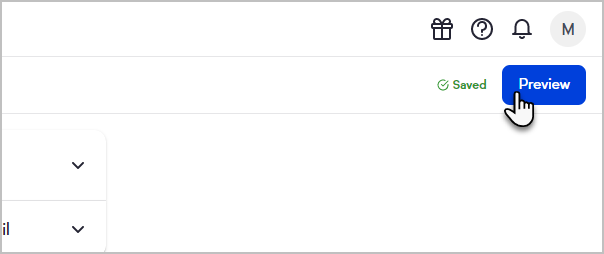
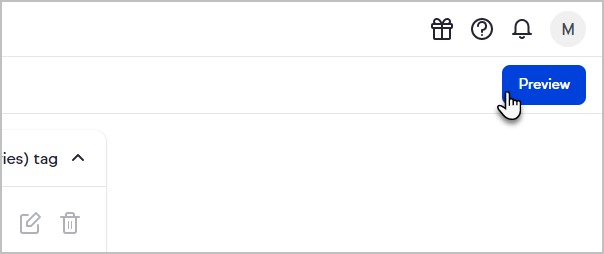
- Click Preview when you're done configuring your automation
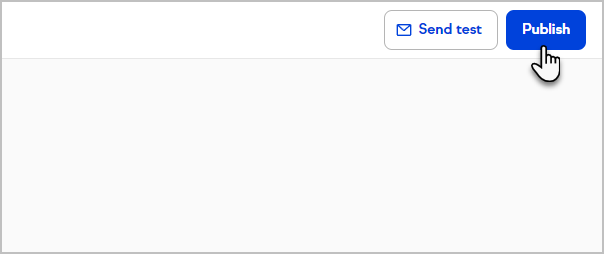
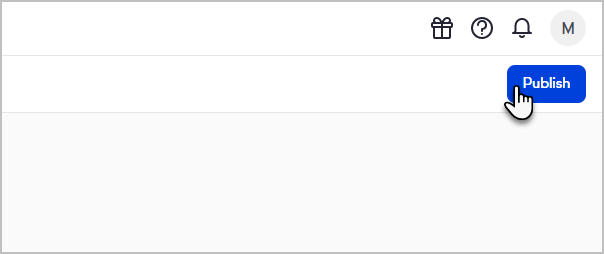
- Click Publish to finalize and launch your automation


Create an automation
Build the automation your business needs without any confusion.
- Click the + plus button

- Choose Easy Automation
- Enter a name for your automation
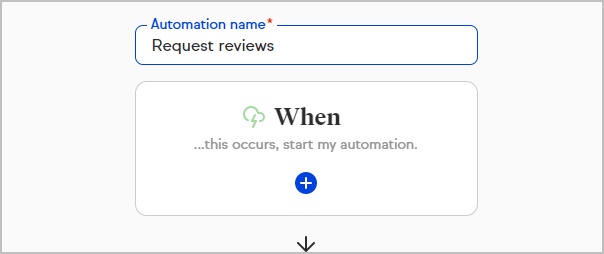
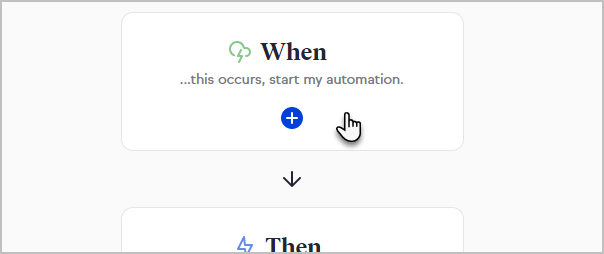
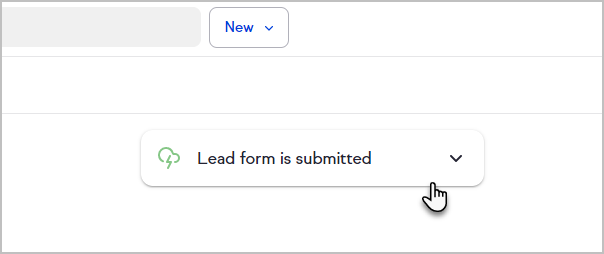
- Click When to configure what will start the automation
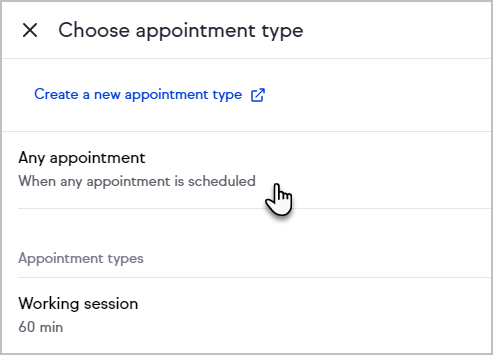
- Search for an option or select one from the list
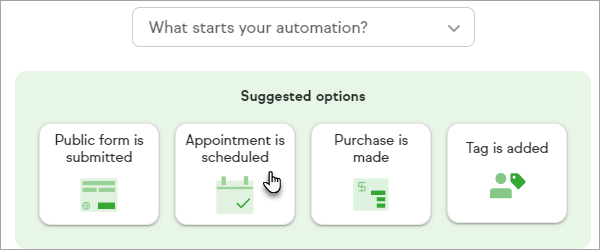
- Depending on the "when" you chose, you may need to select which tag, appointment, or product will trigger your automation
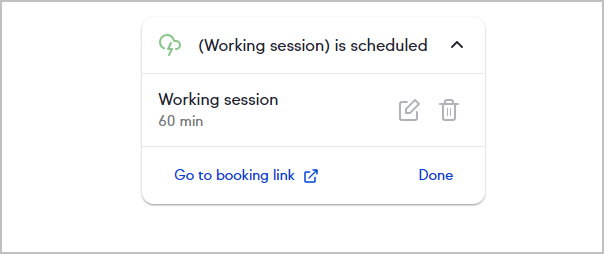
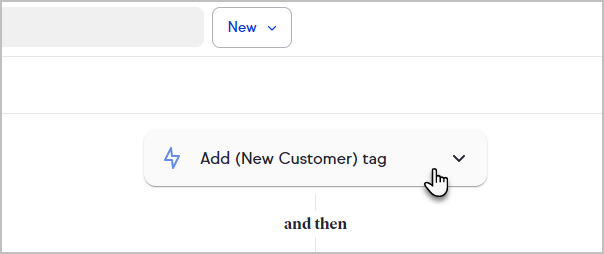
- Click the "when" item to see configuration options
- Each "when" will include an edit button to reconfigure it, a trash bin button to delete it, an option to go to the chosen page or settings (in this example, Go to booking link), and a Done button to collapse the card.
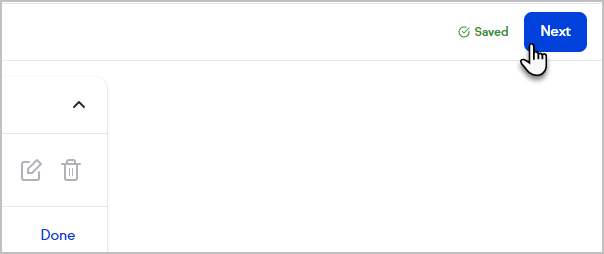
- Click Next once your "when" is configured
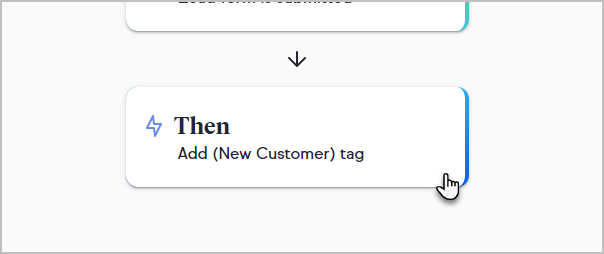
- Select what should happen first when your automation is run
- Configure the "then"
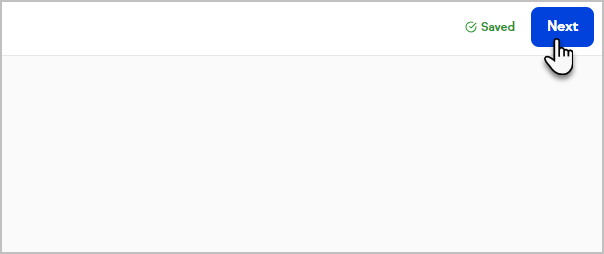
- Click Next
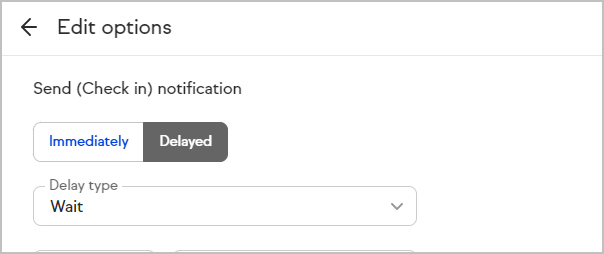
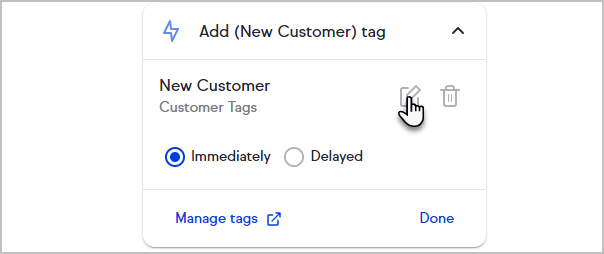
- Choose to have the activity happen immediately or to delay it
Note: To trigger an event at a specific time, select Delayed and check the At a specific time box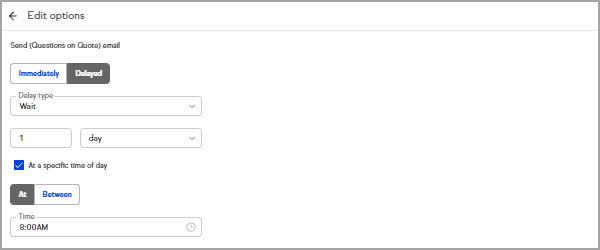
- Click Done
- Click the "Then" card to edit it or click the + plus button to add additional "Then" events (return to step 8 if adding additional events)
- Click Preview once you have finished creating your automation
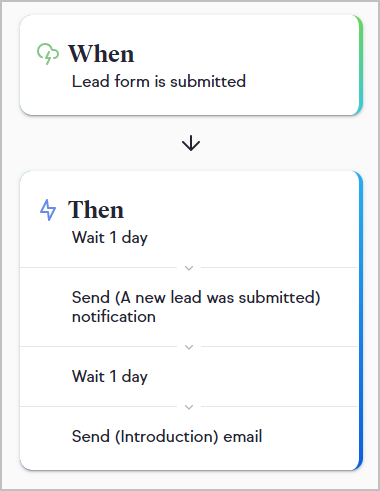
- Review your automation
- Click Publish
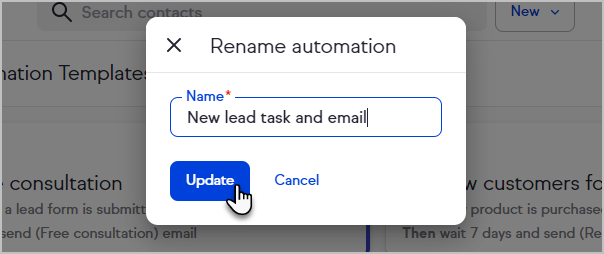
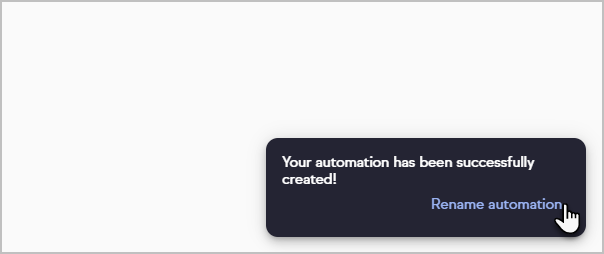
- Click Rename automation to give your automation a memorable name

- Enter a name and click Update
- Your automation will be listed under My automations


Stop automation when an action is completed
Your Easy Automations have an option to stop running for individual contacts when a specific action is completed either by the contact or by a Keap user. In order to set your stop condition, your Easy Automation must contain at least one delayed "then" automation.
- Set a "then" condition to be delayed
- Click the Stop card in your Easy Automation preview
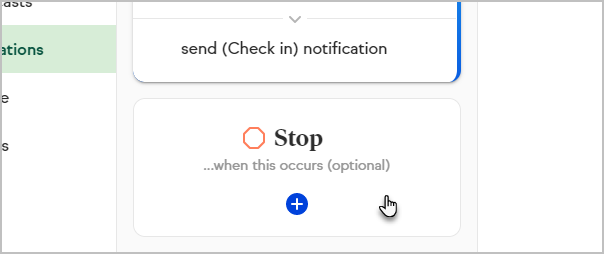
- Select what should stop your automation
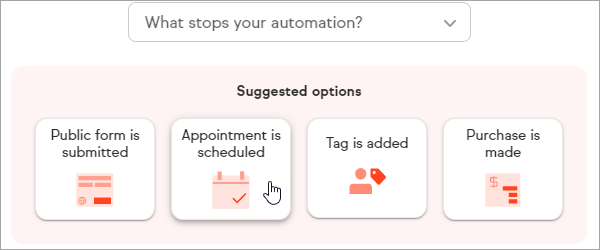
- Configure the stop condition as needed
- Click Preview
- Review and publish your automation


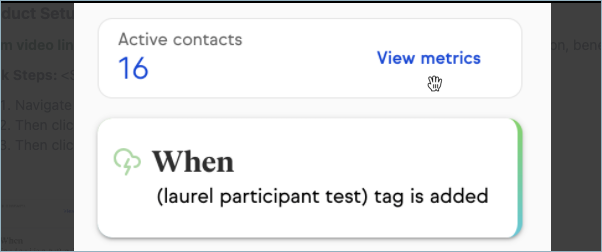
View and remove contacts in an automation
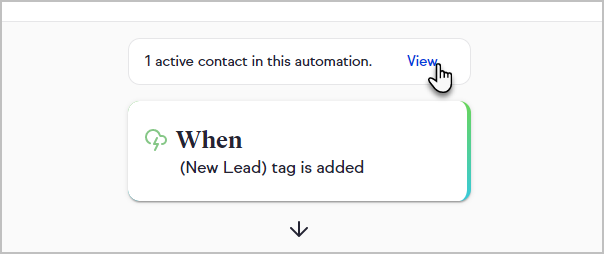
- Select a published automation
- Click View next to the number of active contacts in your automation
- Select any or all contacts to remove from the automation
- Click Remove from automation
- Click Yes, remove to confirm

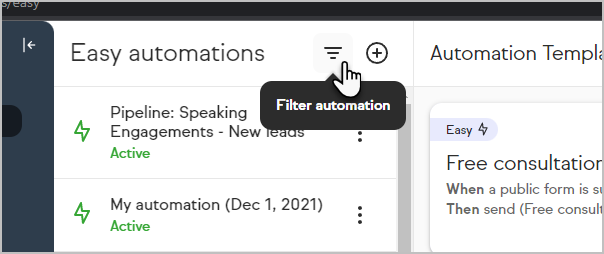
Filter automations
Quickly find specific Easy Automations with your new filtering options. Select one or more types of automation triggers and all of your automations that begin with any of the selected triggers will be displayed.
- Click the filter button
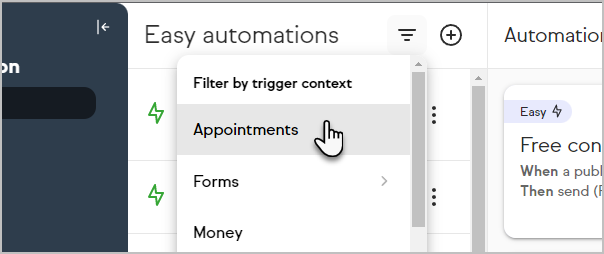
- Select one or more trigger contexts
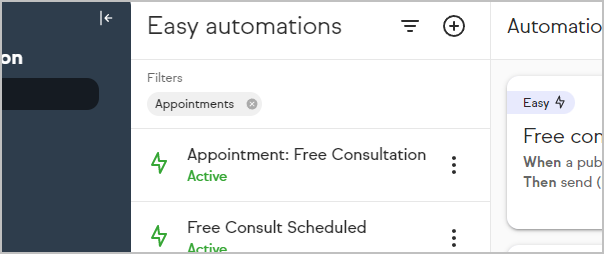
- Your list of automations will update and show the filters above the list


Edit an automation
Make changes to your automations as your business evolves.
Note: Editing whether a "then" occurs immediately or after a delay requires an automation to be deactivated which will remove all contacts from the automation.
- Select your automation

- Click the When or Then card
- Click the item to expand it
- Each item will include an edit button to reconfigure it, a trash bin button to delete it, an option to go to the chosen page or settings (in this example, Manage tags), and a Done button to collapse the card. "Then" items will include options to have the event occur immediately or to delay them.
- Click Preview once you've made all the desired edits
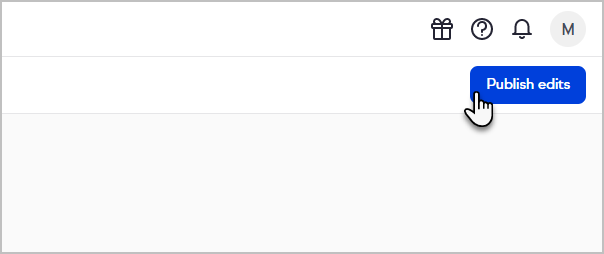
- Click Publish edits
- Click Rename automation to update the name of your automation


Rename an automation
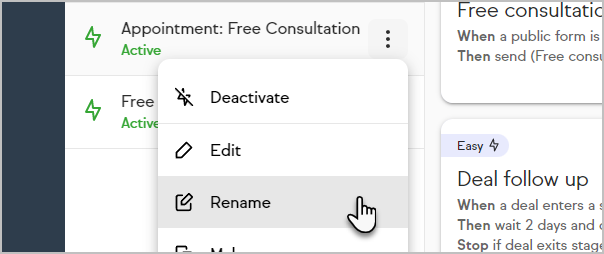
- Click the menu button next to your automation and choose Rename
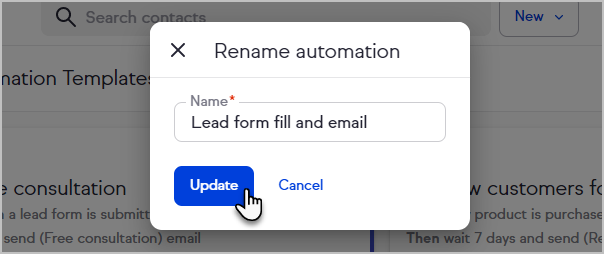
- Update the automation's name and click Update


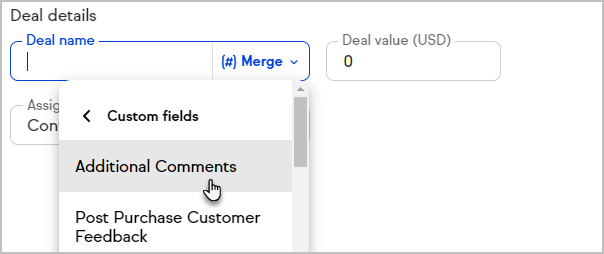
Personalize communications with merge fields
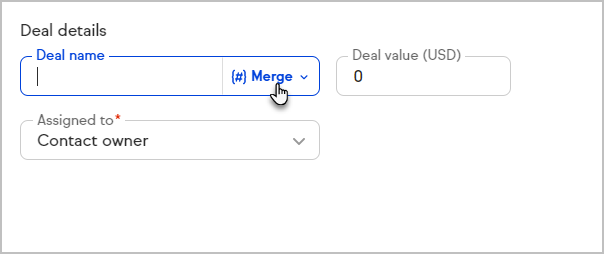
Dynamically insert information into your notifications, emails, deals and more with merge fields. Look for the [#] button when creating an automation to insert information about your contacts (including custom fields), quotes, Keap users, business, or the date and time.
- Click the [#] button
- Select a type of field to include

- Select the specific field to include


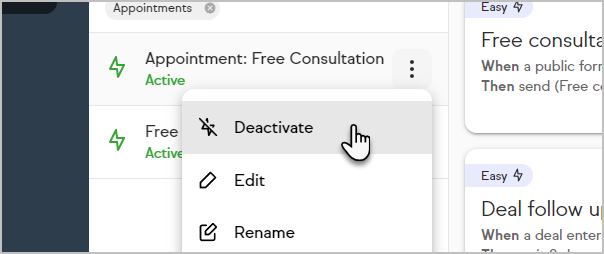
Deactivate an automation
Deactivating an automation will stop it from adding new contacts to the automation and will stop events from being triggered for any contacts who previously satisfied your "when" condition. All contacts will be removed from the automation when it is deactivated. You can reactivate an automation by editing and publishing it.
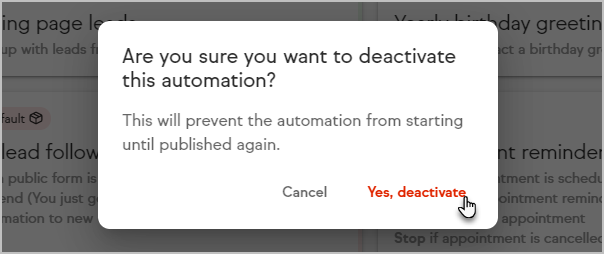
- Select the menu for the automation you want to deactivate and choose Deactivate
- Click Yes, deactivate


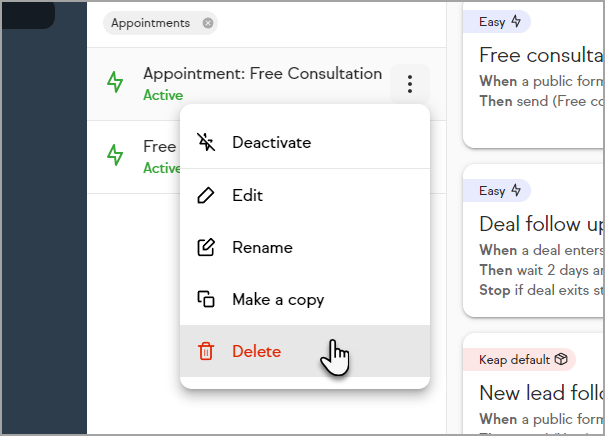
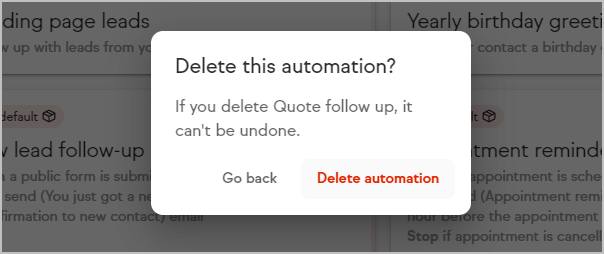
Delete an automation
Deleting an automation will remove it from your app and stop events from being triggered for any contacts who previously satisfied your "when" condition. All contacts will be removed from the automation when it is deleted.
- Click the menu button next to your automation and choose Delete
- Click Delete automation


FAQs
What is Easy Automations?
An easy-to-use, step by step method into automating workflows end-to-end to help small business owners save time and make more sales, automatically.
Which edition(s) of Keap have to Easy Automations?
All Keap editions (Pro, Max, Ultimate) have access to Easy Automations.
Can the advanced email builder be used in Easy Automations?
No, Easy Automations exclusively uses Keap’s simple email builder.
What happens if a contact takes an action that triggers an automation a second time? For example, filling out a public form twice?
The contact will enter the automation again unless they are currently in the automation and waiting for a timer to trigger additional automation.
What time zones do Easy Automations reference?
Easy Automations is based on the user's time zone settings for their Keap app.
Does Easy Automations support integrations?
Easy Automations supports tag-based integrations.
What timers are available in Easy Automation?
Easy Automation includes an option to delay "Thens" for a set number of minutes, hours, days, weeks, or months. To trigger a "Then" at a specific time, select the Delayed option, then check the At a specific time box.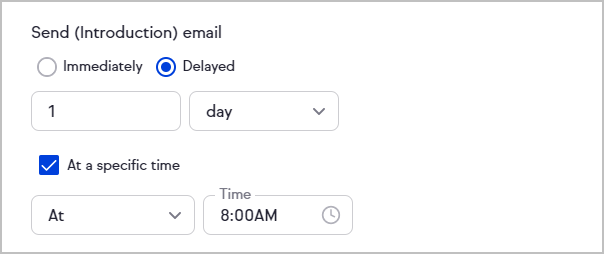
Can I see if a contact is in an automation?
You can see the individual actions triggered by Easy Automations (e.g. email sent, tag added) on a contact's activity feed or by viewing the list of contacts in the automation.
Will an automation be triggered for existing contacts that already had a tag or other trigger associated with the contact?
No, Easy Automations will only take action on contacts that meet the "When" criteria after the Easy Automations is published.
I encountered an error when attempting to publish my automation. What should I do?
Easy Automations will prevent you from creating a loop of activities that are all set to happen immediately. If you encounter this error, add delays between the events of your automation. 
Easy Automation Metrics
Easy Automation metrics allows users to see what automations have done for you, (i.e. number of emails/texts sent, tasks/deals created, etc.)
- Navigation to Easy Automations
- Click on the Automation that you would like to review and click the View Metrics button at the top of the automation