You can create custom fields for your contact and company records. Keap Lite and Pro customers can create up to 100 custom fields for contact records, while Keap Max customers can create 150 contact custom fields. All customers can also create up to 100 custom company fields, which are distinct from your contact custom fields. For more information about custom company fields, click here.
You can also create, edit, and delete all your contact and company custom fields in the custom fields management settings.
The field type you choose should correspond with the type of data you want to store in a way that satisfies your end goal for the data (i.e. reporting, merge field, etc.). Below is a complete list of all field types that are available and a description of each.
Create and add a custom contact field
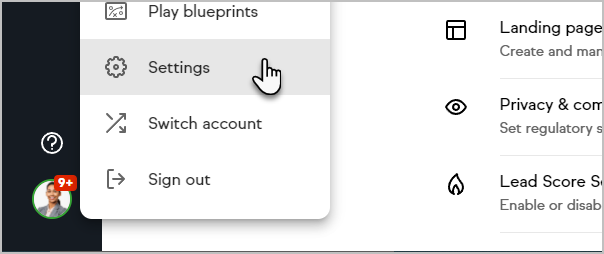
Click on your avatar and click on Settings
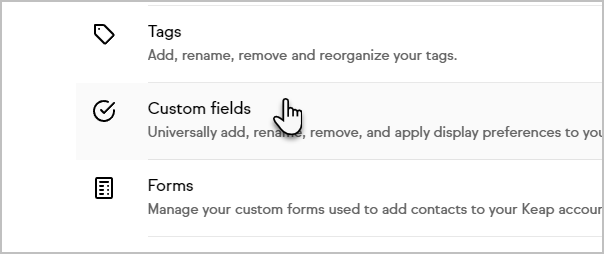
Choose Custom fields
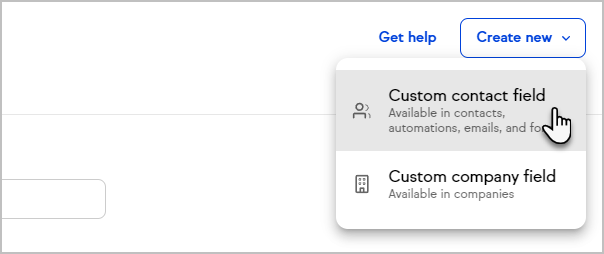
Click the Create new button at the top right of the page and select your choice of Contact or Company
- Enter a Field name and choose a Field type.
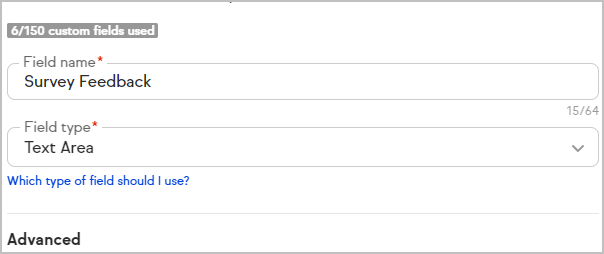
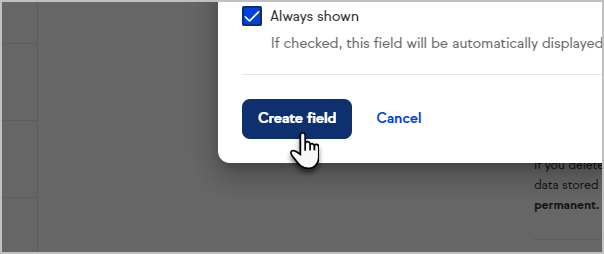
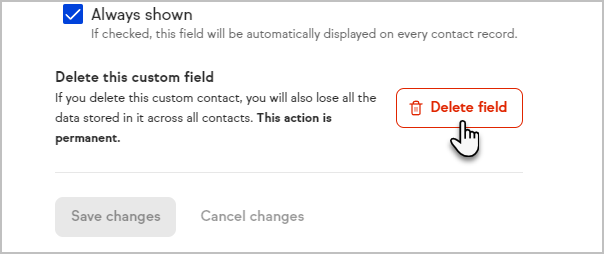
- Optionally choose to have this field always shown when viewing any contact record.
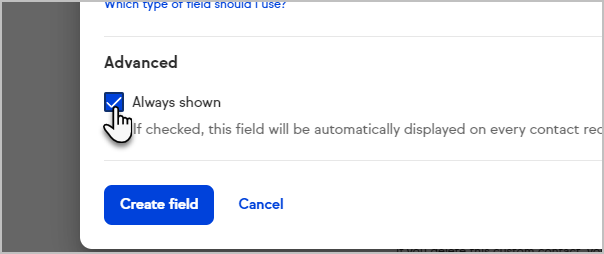
- Click Create field
- Now, when you view the Additional Info section of this contact, the custom field will be present on the right side of the page

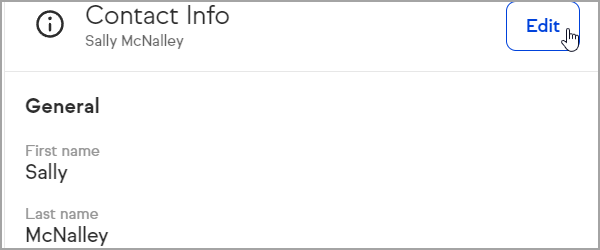
- Note that if no value is present in the field, it will not be visible on the contact record. In this case, you will need to go to the details tab and click Edit


Edit custom fields
Warning: This will change the custom field for all of your contacts.
- You can either go to Settings > Custom fields as described in the previous section to edit your custom fields, or you can do it from within a contact record
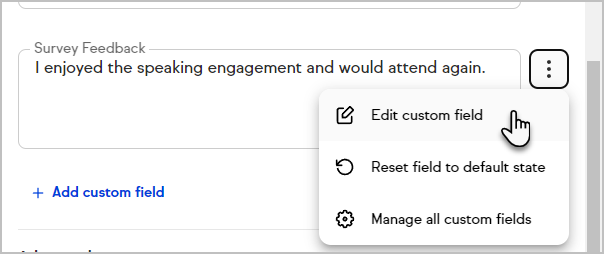
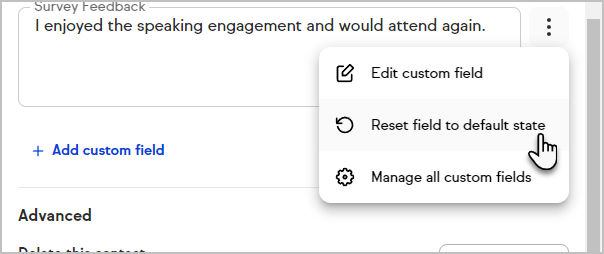
- Click the breadcrumb menu next to the custom field and choose Edit custom field
- Edit the custom field
- Click Save changes when you are done


Remove a custom field from the contact record
- Click the breadcrumb menu next to the custom field and choose Reset field to default state

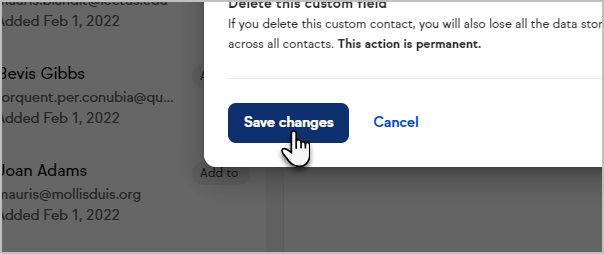
Completely delete a custom field from Keap
Warning: This will delete the field and any data for all of your contacts.
- Click on your user avatar and select Settings
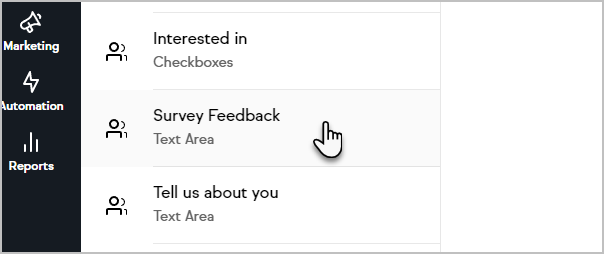
- Click Custom fields
- Select the Custom field that you want to delete
- Click the Delete field button


Create a custom field from the form builder
You can create new custom fields when creating or editing a smart form or lead form. Save time and stay in the zone instead of navigating to other areas of Keap when you realize you need a new custom field to capture a piece of information. Click the Create new field button to quickly create a custom field and continue working on your form.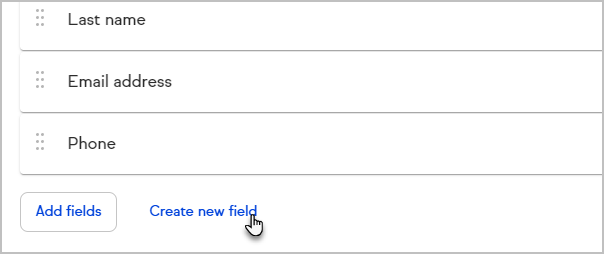
Hidden Custom Fields
- If your custom field has no data it will not be displayed
- Even though it's not displayed it will still capture data when submitted through your Web Form/Landing page
