The contact record provides key information about your contacts and includes action buttons so you can easily book appointments, send messages, and much more, enabling you to get straight to work.
See your activity grouped by type, and quickly take action based on what’s most important. If an invoice is overdue, you have an unread message, or have overdue tasks, you'll see those items at the top.
Contact record overview
The top of each contact record includes an avatar, the contact's name, contact details, and action buttons. Buttons to text (requires Keap Business Line), email, tag, add a note to a contact, and create a task are immediately available.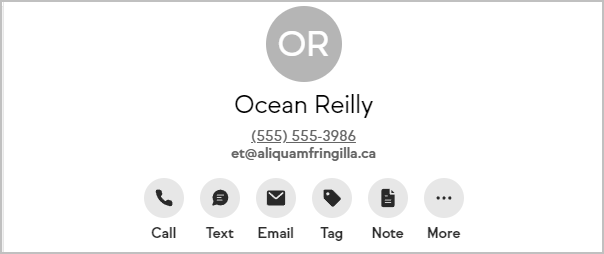
Additional actions can be accessed by clicking the More button and include options to book an appointment; add a payment, invoice, or quote; upload a file; use an internal form to update the contact, add the contact to automation, and add a task.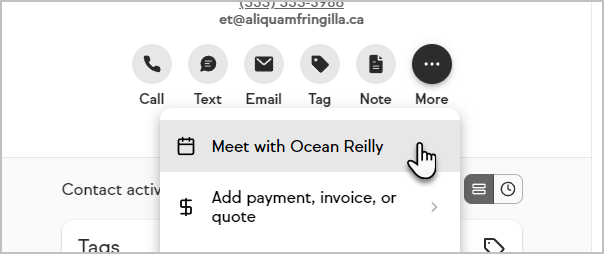
Edit contact details
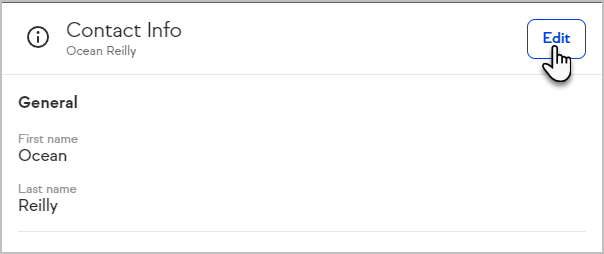
- Click the Edit button at the top right of the page
- Update the desired fields
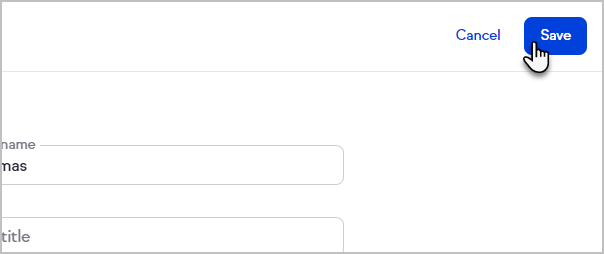
- Click the Save button when finished
Contact profile pictures
Keap's contact profile pictures are pulled from Wordpress' Gravatar service. If your contact has added an avatar to this service using an email on the contact record, Keap will automatically add their image. All other profile icons will be created by using the first two initials of a contact full name.
Activity feed overview
On a contact record, when viewing the Appointments activity card, or the accompanying side panel, only appointments from the last 30 days and upcoming 30 days will be shown. Click on the "See more" text on the widget to open the panel on the right that will show appointments out to 60 days.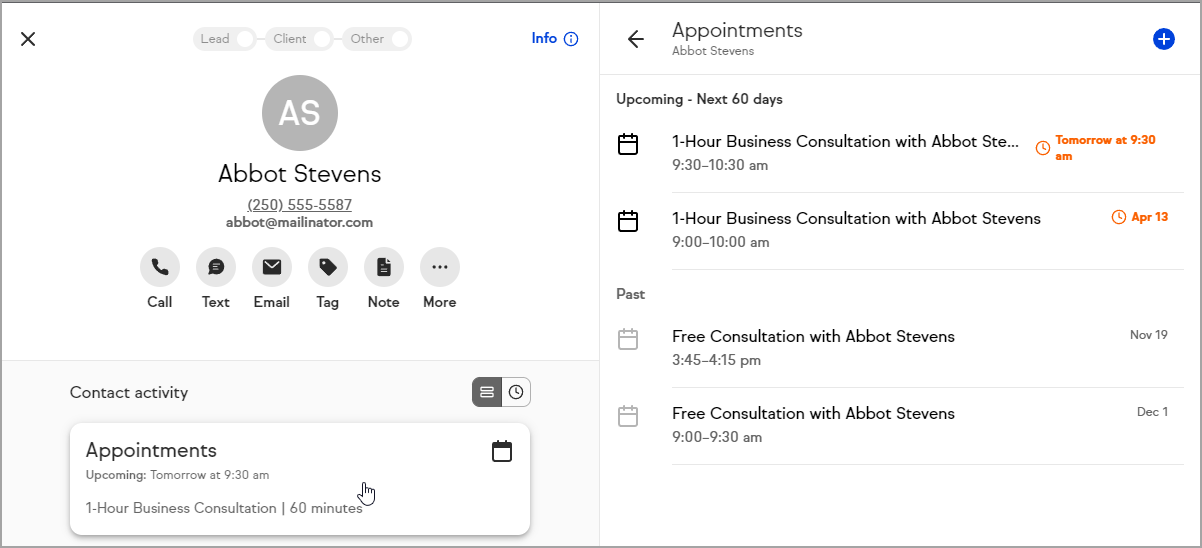
However, they are visible from the calendar on the Appointments page. The calendar shows Appointments indefinitely into the past and the future.
Every contact record displays an activity feed of the events that have taken place with a contact, grouped by activity type, so you can easily find what you're looking for. Better yet, the activity feed will display high urgency items, such as missed payments, unanswered communications, and overdue tasks, at the top of the activity feed so you can quickly identify what actions to take.
To view the related activity, click anywhere on the card.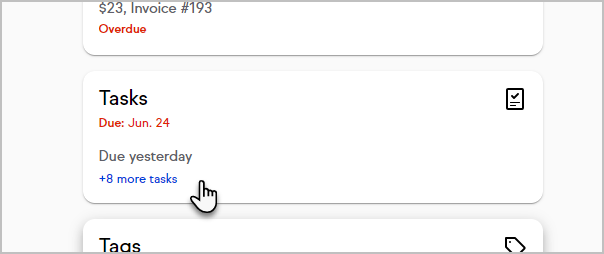
When reviewing specific types of activities, you will have an option to create a new item, in this example a task, in the upper right corner.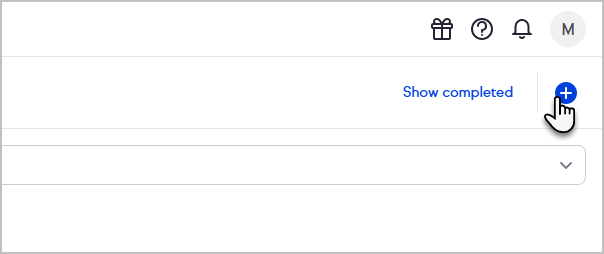
Once you're done reviewing or creating the contact's activities, click the back arrow to return to the contact record.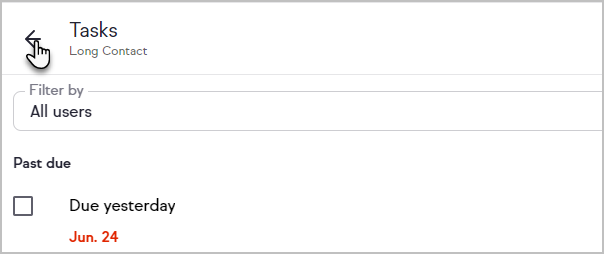
Chronological activity feed
By default, the activity feed will show a grouped view by activity type. To view activity for a contact in chronological order, click the clock button at the top of the activity feed.
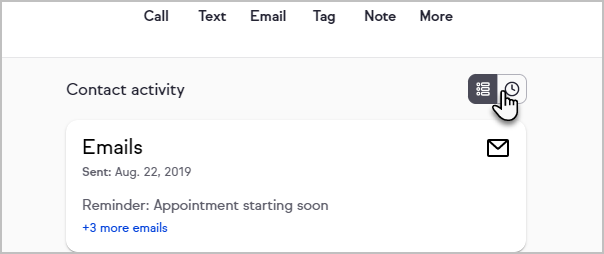
The following contact activities will be listed in the chronological view:
- Email sent
- Task created
- Task updated
- Task completed
- Task deleted
- Note created
- Note updated
- Note deleted
- Added to an automation
- Removed from an automation
- Added to a Pipeline deal
- Pipeline deal deleted
- Web form submitted (not visible in the grouped activity feed)
View additional contact details on larger screens
On large screens (1360 pixels wide or more), your contact info and activity details will be displayed in a panel on the right-hand side.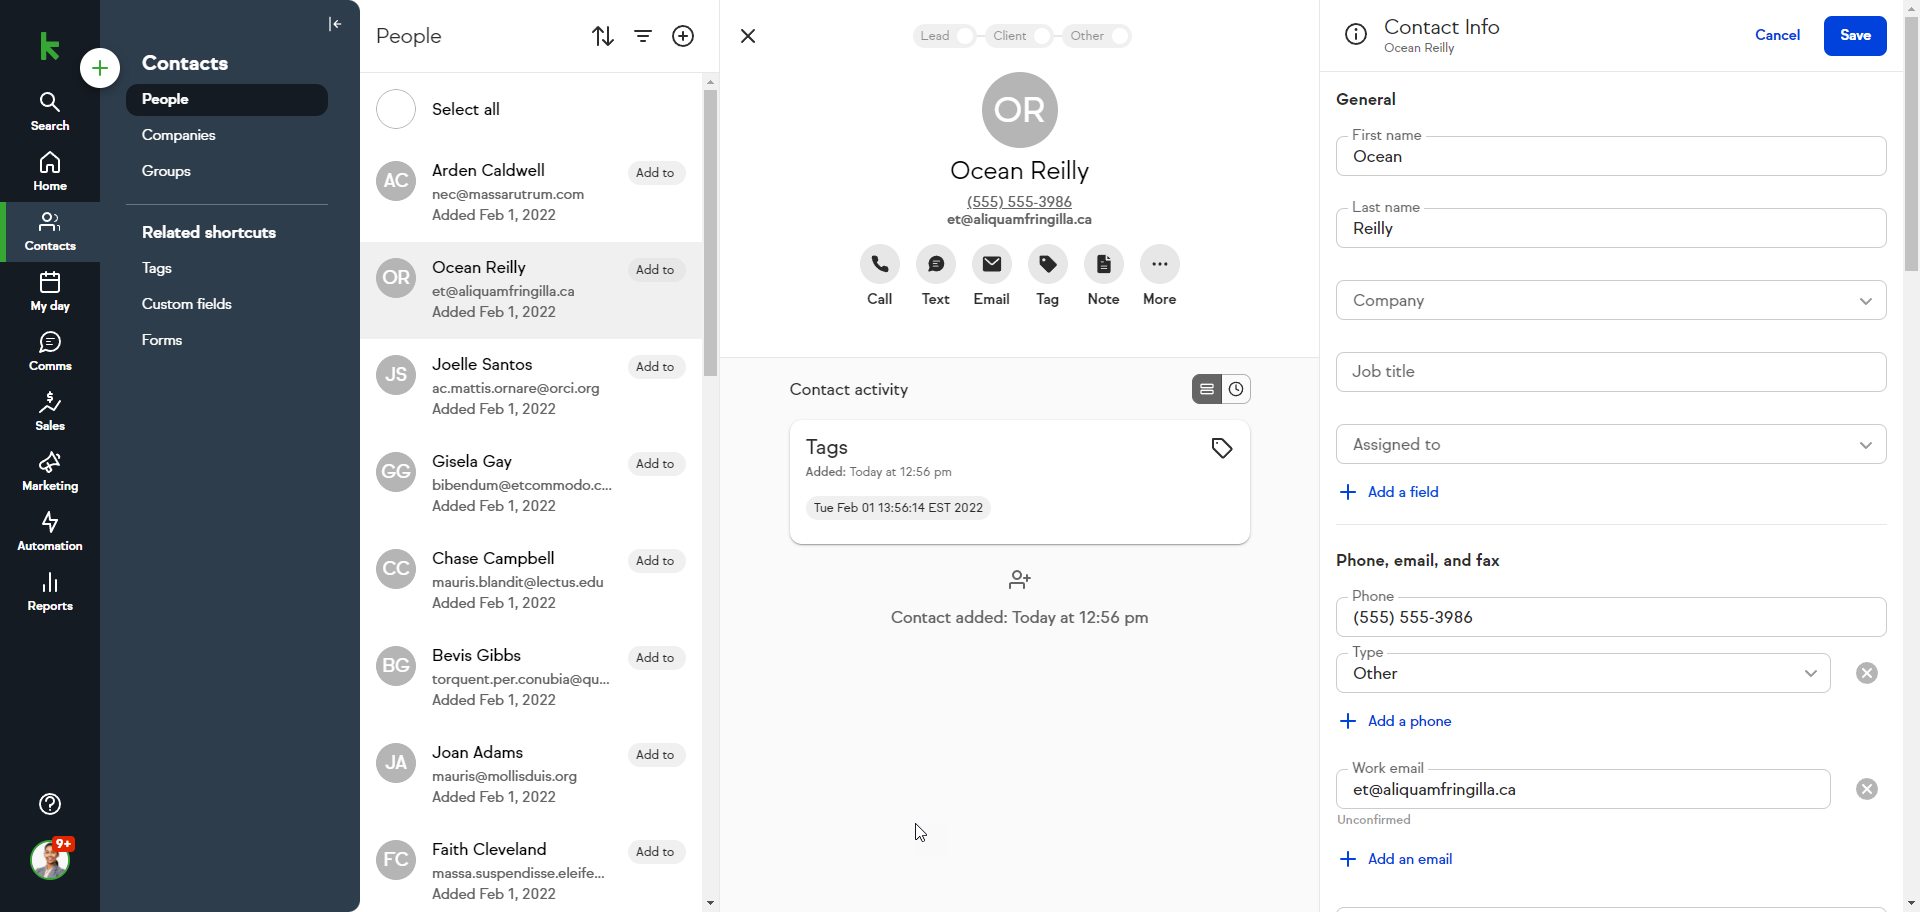
(Click to expand the image for a closer look)
If you do not see the additional panel, you can zoom out using your browser menu or a keyboard shortcut to see it. On Windows, most browsers use Ctrl + - to zoom out and on MacOS, most use ⌘ + -. Below is an example of the Zoom option in Chrome's menu in Windows.


