Why Run It: To streamline your internal process of collecting leads via personal interaction
Who It's For: Any business that relies on face-to-face interaction should be using some type of lead intake form. This play CAN be built to “do it all” – collect leads, convert clients, and create fans – based on how you choose to design and execute it and the information you choose to gather.
Implementation time: 10-20min
Play Snapshot
A Lead Intake Form is simply an internal form you and your team can use to manually input new leads, prospects, and contacts into Keap. Traditional brick-and-mortar businesses might use this for new contacts in their physical location, but you can also tailor this form for networking events, trade shows, and even consultations generated organically.
This is the perfect solution to being able to gather the data you need from new contacts beyond simply a name, a phone number, or an email. By designing the intake form ahead of time and including the contact and/or custom fields, and other data, you can ensure fewer errors, better data, and fewer mistakes. In short, you’re creating a system, not just some notes…
Pro Tip: As much as you might want to ask hundreds of questions of this new contact, you need to make sure there’s some balance to the amount of data you’re asking them to share. A prospect might be open to providing a lot of information for a visit to a new doctor, but they’re far less open to answering twenty questions when they simply want to buy a shirt.
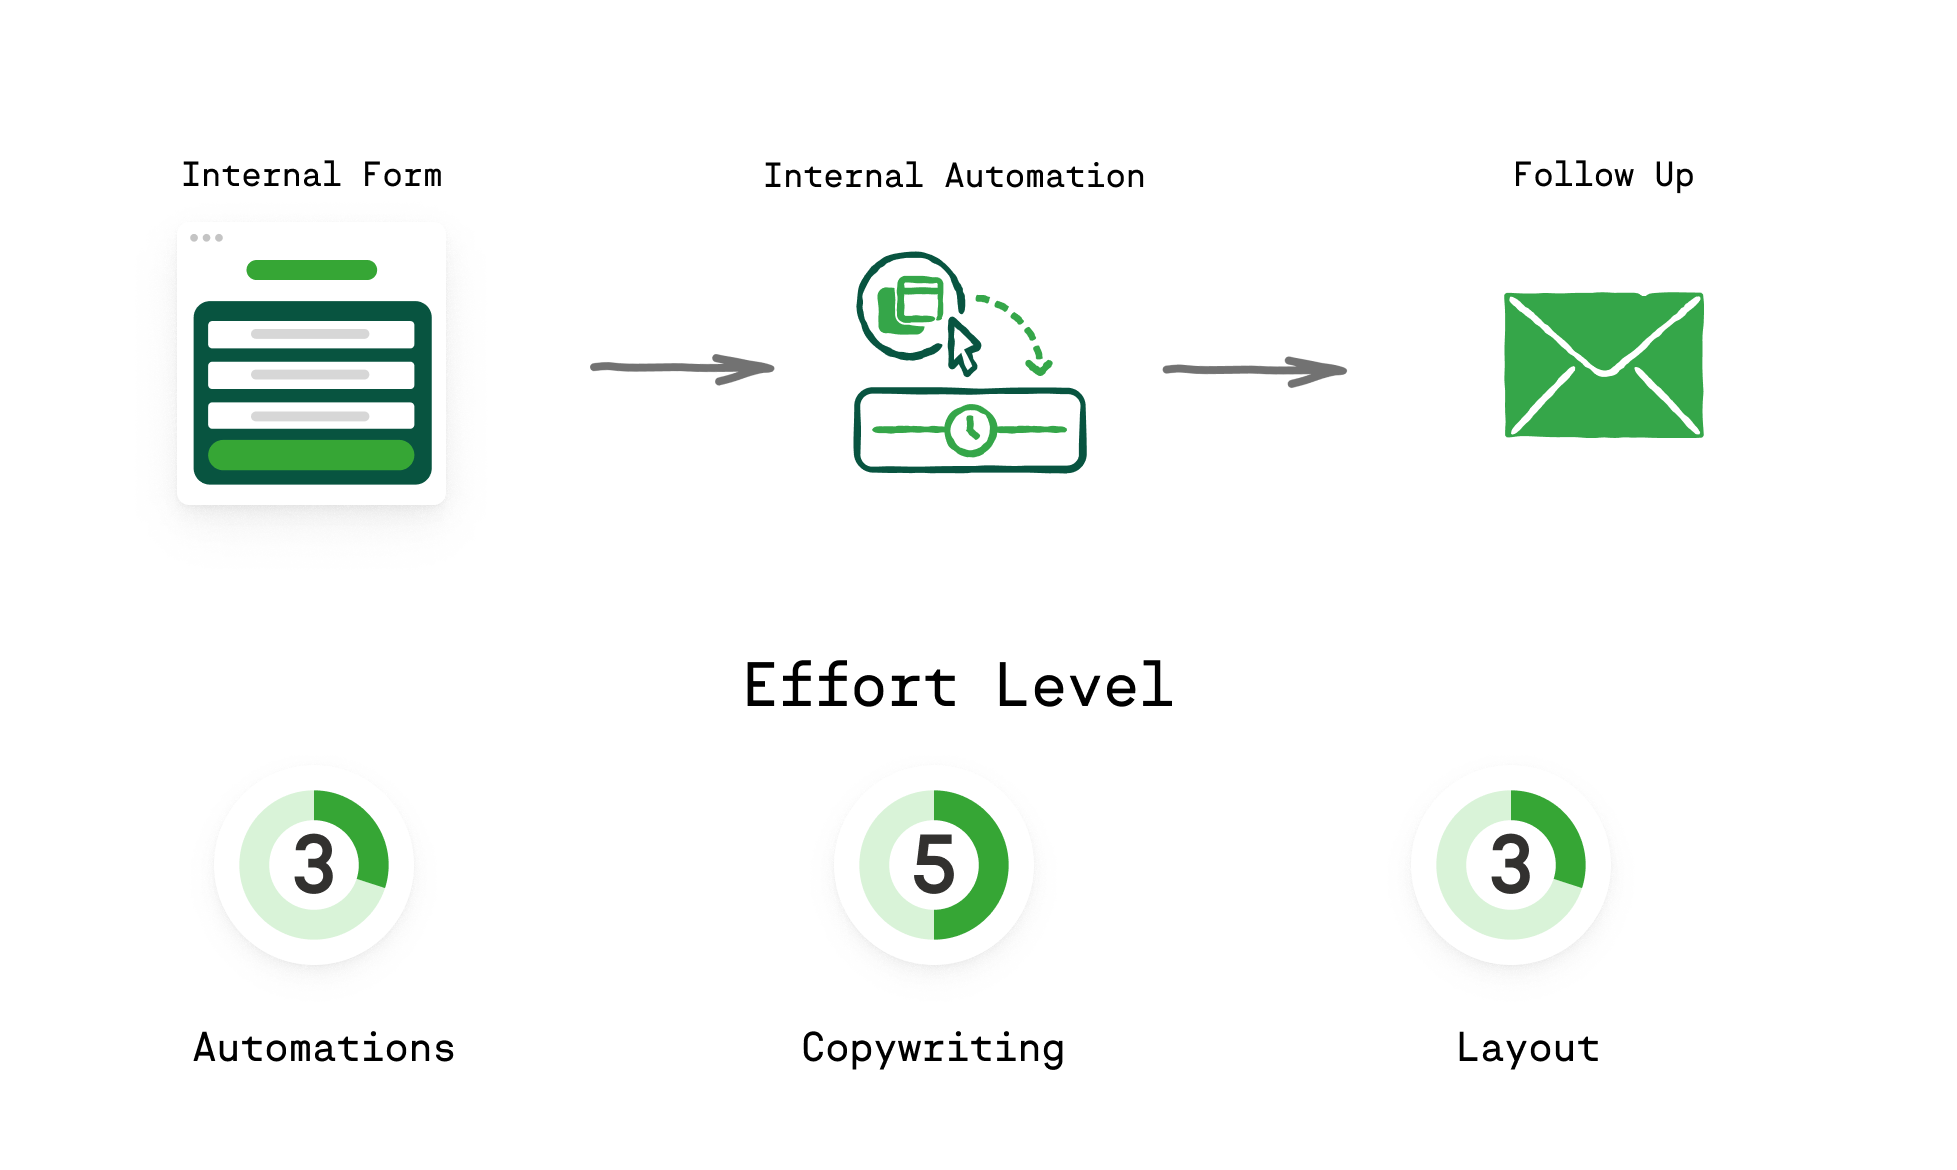
Play Components:
1. Internal Form
Obviously, the first step in this is to be clear on the data you’ll want to collect. By choosing the “Create Internal Form” already in your Keap app, you can use a templated form that already has many items, such as first name, last name, email, company, phone, and the ability to add notes.
This can be saved and published, and of course, you can create a customized internal forms to suit many different purposes. Some examples might be an intake form designed for a networking event or a slightly different one for a phone consultation. In all cases, the form(s) can be used to kick off internal automations.
2. Follow Up
There are two primary follow up scenarios within this play, and while the process is the same, let’s look at some examples of why you should create automation that follow up from the creation of an internal form:
- Internal Follow Up: Does your business require a tangible “hand-off” from Sales to Fulfillment? What about scheduling meetings with potential prospects or partners? By creating internal forms it will be easier to build rapport, convert these new leads, or simply move them into the proper sales funnel or nurture campaign.
- External Follow Up: Having the correct data on a prospect, especially one that you’ve interacted with face to face, allows you to direct them to the perfect “call to action” based on what they’ve told you! Once the internal form is filled out, and the appropriate tags applied, the new prospect can immediately be moved into existing automation sequences.
Best Practice:
Remember this – both of these scenarios are important, but you may find one is more suitable for your business model or team. What can’t be denied is how much easier a simple Internal Form can make it to generate sales, manage your business, and move the needle in multiple arenas of your operations.
3. Internal Automation
Easy Automation is the perfect way to handle these. When the intake form is completed, then you’ll apply a tag based on the form you’re using (ex. “Networking Event Tag” or “Phone consultation’). From there, you’ll be able to create a task to follow up with this person in a specific period of time. The final step is to add a “deal card” to your pipeline, so they can’t fall through the cracks.
Below is your action plan that breaks down the tactics and tasks of each step -- and details the assets, and content you'll need to execute this play like a pro.
The goal of this play is to have an internal-use lead intake form for you and your employees to use when adding a contact to your CRM manually. This form might be used when someone calls in, or walks into your physical location and doesn’t have a contact record. Most businesses have specific data they gather from new leads above and beyond the regular name/ email/ mobile, so having an intake form, pre-created with the custom fields you need, makes adding new contacts to your CRM easy, efficient, and idiot proof for any of your other users.
Checkpoints to Launch
Build your internal lead intake form and publish it
Create custom fields (if necessary) to add to your internal form
Pro Tip: Add helper text to your custom fields to eliminate confusion or mistakes when other users add a contact using this form. Remember, make it idiot proof.
There are other things that go along with adding a new lead to your CRM that we can automate.. You may want to add that new contact to a specific segmentation (like a “new lead” list), or generate tasks that go along with a new lead being created, or to add a deal card to the first stage of your sales pipeline. You can do this using either the Easy Automation builder or the Advanced Automation builder.
Checkpoints to Launch in Easy Automation:
For the When, select Internal Form Submitted and select your new lead intake form.
In the Then section, select Add a Tag and choose (or create) the tag or tags you want added to the new contact record. These tags can be used to create lists in your contact section.
Add another Then event, and select Create a Task if there are any standard tasks that need to be scheduled (like a follow up call, or internal admin activities like creating a quote)
Add another Then event, and select Create a Deal to configure a deal card to be added automatically to your Sales Pipeline.
Checkpoints to Launch in Advanced Automation:
Select Form Submitted from Goals as your automation trigger
When configuring, select Internal form and select the form you already created or select Create New Form and build your new internal form here.
Connect a Sequence to your Form Submitted goal
Drag out and configure the processes that apply to this play: Apply/Remove Tag, Create a Task, Create a Deal
Another really important thing that should be done when you add a new lead is sending that new lead a welcome email. Welcome emails have an 86% Higher open rate than other marketing emails (9clouds). This is a perfect opportunity to make a great first impression on your new leads.
Checkpoints to Launch in Easy Automation:
Add another Then event, and select Send an Email. Your subject line should include “welcome” and the email body reflect your welcome message
Pro Tip #1: Include a link to your website, a free asset like a guide or checklist, or a special offer. This will help engagement and conversion.
Pro Tip #2: If you have a version of Keap that includes the Advanced Automation Builder, Add a Tag in the place of the email you would build in the easy automation builder, and have that tag (example:Send Welcome Email Tag) launch a welcome email from the Advanced Automation Builder. The email builder in the advanced automation builder allows for the addition of branding, images, and graphics. It will be a prettier email, and people like that. Remember, first impressions, right?
Checkpoints to Launch in Advanced Automation:
Inside your Sequence following your Form Submitted goal, drag out and add Email Massage.
Configure this email as your welcome email. Along with your welcome message, include an offer, next steps, a success story etc.
Success Metrics
Primary Metric: # of Leads
Measure this from the form analytics -- how many times did you or someone on your team fill it out?
[ COMING SOON: Tutorials for the best way to measure this metric ]
Common Next Plays
- Personalized Check In [Recommended]
- Nurture Campaign
- Sales pipeline

