Add a new contact
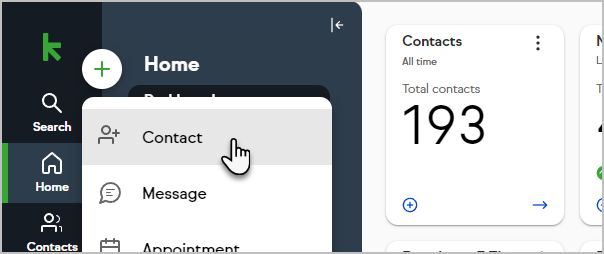
- Click the Plus icon and choose Contact from the drop-down
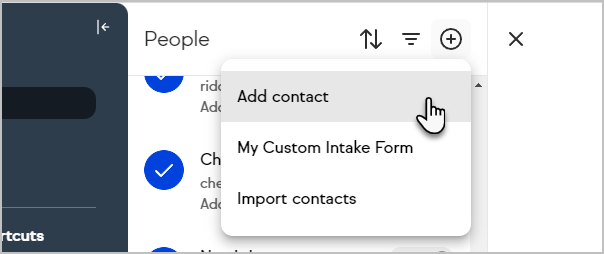
- Or, if you are currently in the Contacts section, you can click the plus button next to the filter and sort buttons
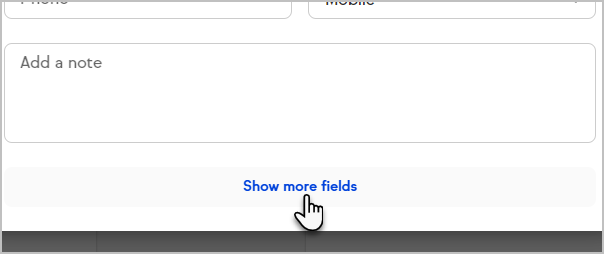
- Click Show more fields at the bottom of the pop-up to access additional contact fields
- (Optional) Select an internal form to use to add the new contact or to access your custom fields while adding a contact
- Complete the form with the contact's information
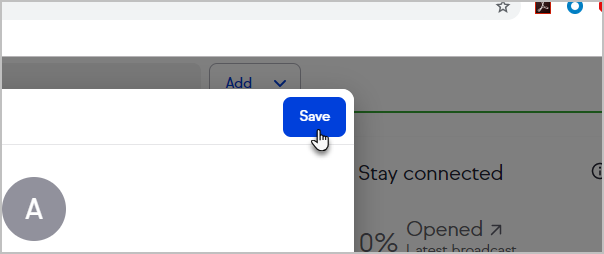
- Click Save in the upper right hand corner
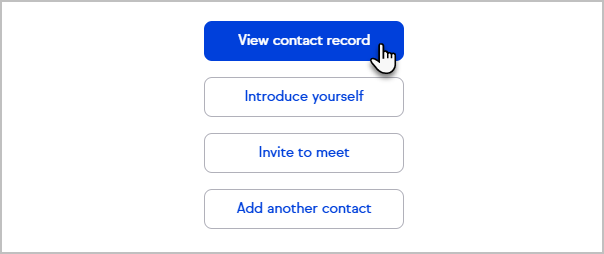
- Choose to view the contact record, introduce yourself with an email, send an appointment booking link, add another contact, or close the window
Search and edit a contact record
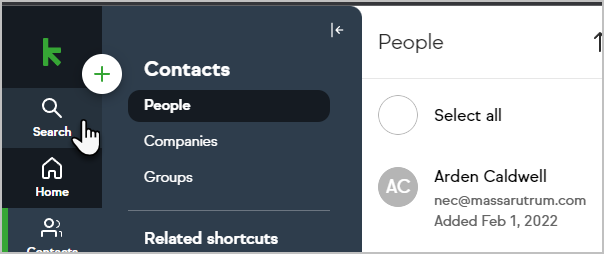
- Find the contact record by clicking Search
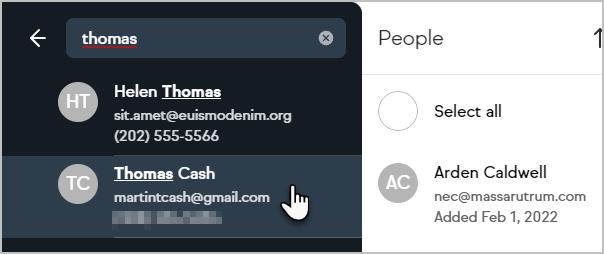
- Select the contact you want to edit
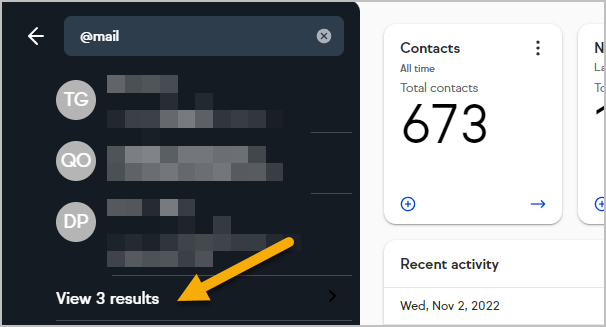
- (Optional) Note that if you want to view a list of these results, you can click the View results button at the bottom. This saves from searching multiple times if you want to look through all the search results.
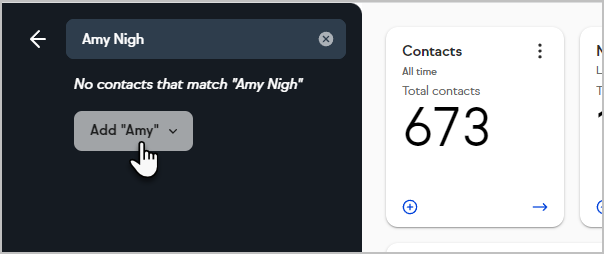
- (Optional) Also, if there is no record of the contact, you can create one on-the-fly
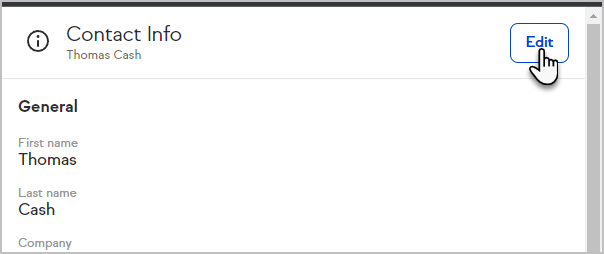
- Click the Edit button at the top right of the page
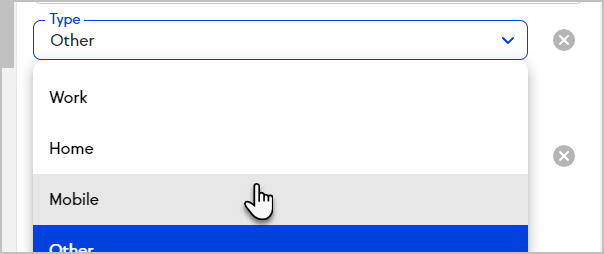
- Note: You might want to verify if the Phone type is classified correctly. For example, you might want to change a phone type to Mobile. In previous iterations, Keap would default the phone type as Other or simply a blank with no option selected. Keap will now default to the Mobile phone type when editing a contact and adding a new phone number.
Duplicate contacts
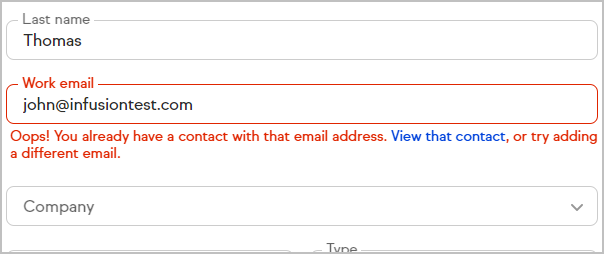
If you attempt to add a contact with an email address that is already in your application, you will see an error with a link to view the existing contact.