Field Timers allow you to schedule a marketing piece based on a date or date/time field in the contact record. There are two default date fields in every contact record: Anniversary Date and Birthday Date. You can also create your own custom date or date/time field.
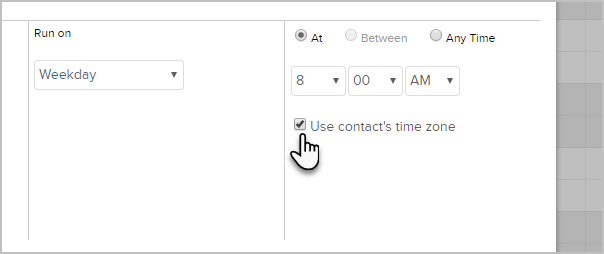
Pro-Tip! You can override the default time zone with the time zone of the contact record so that your emails send at the most appropriate time for their time zone.
- Drag the Field Timer snippet onto the canvas
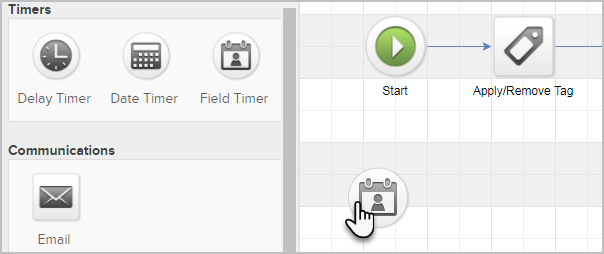
- Double-click it to configure it.
- In the Wait Until section, select the day(s), week(s), month(s) to delay before or after the custom date. If you'd like the timer to run on the exact date in the custom field, select the 'No Delay' option.
- In the Contact Field section, select the date field. By default, Birthday and Anniversary will always show in the drop down. Any new custom date or date/time fields will show here too.

NOTE: Selecting Next Occurrence will look at the Month/Date to schedule the event. Selecting Use Year from Field will look at the Month/Date & Year to decide when to schedule the event.
- Choose what time of day you would like to send this marketing piece and click Save. If you are using a date/time field, this will say "The time specified in the contact field." It will send based on the time set in the contacts custom field.
- You are now ready to publish your changes.
Pro Tip! Only one type of timer can be used per "Start" button. Meaning, no Start > Email > Delay Timer > Task > Date Timer. The Date Time would need to be on it's own "Start" button.
 Click to view larger
