Before starting, complete WordPress Plugin set-up, and identify where and how you want the opt-in form to show up on your web page, and what type of information that you want to capture from your web site visitors.
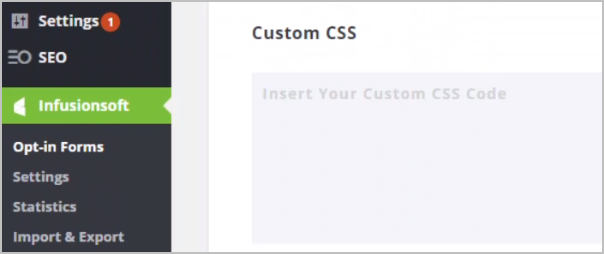
- Log into your WordPress account and click Infusionsoft in the menu to expand the sidebar, then click Opt-in Forms.

- Click New Opt-In Form at the top right corner of the page.
- Based on how you want your opt-in form to function on your web page, choose a type of opt-in form. Descriptions are below.
- Pop up: Prompt visitors to opt-in by setting the form to appear either after a specific amount of time, when scrolling to a specific point on your page, after leaving a comment, or when they make a purchase.
- Fly in: This is the pop-up’s smooth, subtle cousin. Set it to fly in at the bottom of the screen either after a specific amount of time, or when scrolling to a specific point on your page.
- Below post: Place the opt-in at the end of your page. Visitors who have read an entire post are highly engaged, so this is an effective place to provide the opt-in.
- Inline: Insert the opt-in form in the middle or virtually anywhere on your web page.
- Locked content: Offering valuable content in exchange for an email address is an effective way to entice an opt-in. Offer content that your visitors can unlock by opting in. Locked content is placed between [inf_infusionsoft_locked optin_id="optin_#"] and [/inf_infusionsoft_locked]
- Widget: Create opt-in forms for your sidebar, footer, or any other widget-friendly areas on your site.
- Bar: Announce promotions and drive traffic to pages of your choice with our attention grabbing, top-of-page banner.
- Enter a name for your opt-in form and click the Next: Design button
- Enter your Legacy API Key, and App ID and click Authorize.

- Choose a form layout, then click the Next: Customize button at the bottom.
- Choose a template. You can alter the colors after selecting a template.
- Click Next: Customize.
- Here you can add the fields that you want to capture with your opt-in form. Email Address is always required.
- Click the Preview button at the top right of the page to view your design progress.
- Click Next: Display to customize more elements.
- Select where to display the opt-in form. Options include:
- Everywhere on site
- The home page
- Archives page
- Certain page or post categories
- With specified shortcode tags
- Specified pages
- Specified posts
- Once you have completed the form setup process. Click Save & Exit at the bottom of the Display Settings tab. Your new form is now visible in the Opt-In Forms tab. You can repeat this process to create more opt-in forms for your web site, if needed.
Next, you have the option to install the Infusionsoft Landing Pages Wordpress plugin.


