- Duplicate contact checking is based on the contact's email address and will happen automatically; contacts with the same email address will not get imported twice.
- Contact info is updated/replaced when importing CSVs with an existing email address except for Email Statuses. We never automatically overwrite the Status of an Email Address from a list import (Non-Marketable, Opt-out, etc)
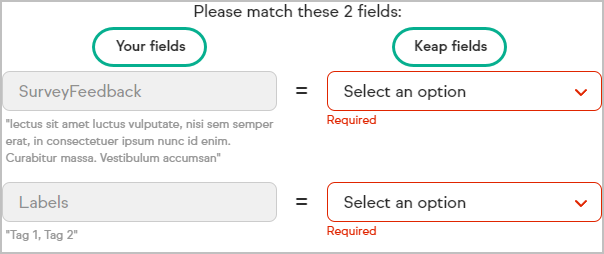
- You can locate a drop down item in field mapping by typing the word of the field that you want to map i.e. You want to quickly find "tags" you can start typing it with the drop down open and will be taken to that part of the list
- You can only import CSV files with 5K max contacts at once. Anything over 5K should be imported in batches.
Import your csv, xlsx, and xls files
Before you import, make sure that your data is in csv, xlsx, or xls file format and that they have been properly prepared.
- Click Contacts > People from the navigation menu
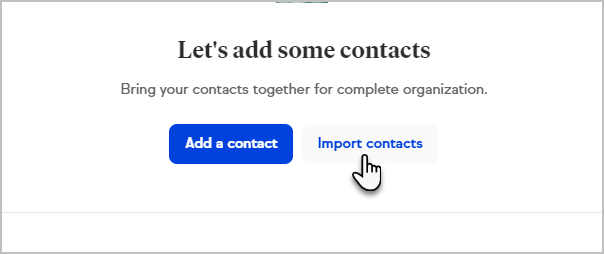
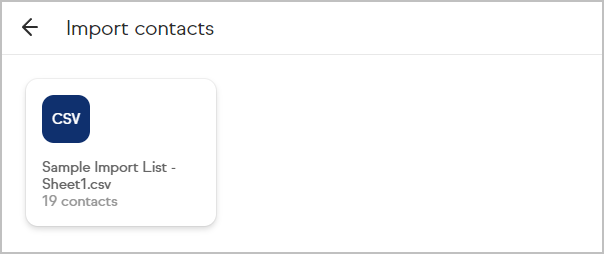
- Click the Import contacts button
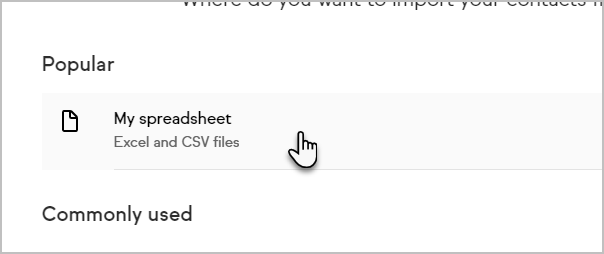
- Select import type (note that the most common option "My spreadsheet" is at the top of the list.)
- For a CSV file either click to upload or simply drag your file and drop into the Import window


Mapping fields
Fields will automatically map to your Keap fields. However, if there are fields that cannot be matched match the Keap fields on the right to your CSV file columns on the left.
Keap does not allow mapping a field to a contact owner due to potentially putting an owner in the field that is not valid in the app.
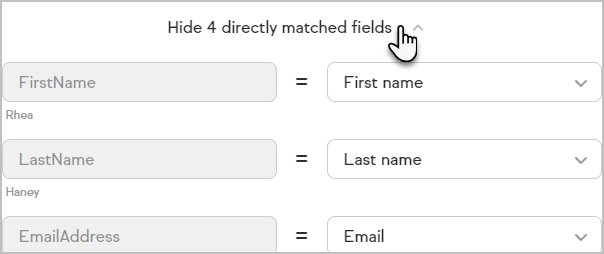
Click the Show matched fields link at the bottom of the screen to view the auto matched fields
CSV File display
In the top left corner of the field-mapping screen, it will display the name of the uploaded CSV file. Use this as a reference for what file you are working while matching fields.
Companies
Keap checks existing company records to prevent duplicate items.
Companies are not case sensitive, so contacts with companies of "keap", "Keap", and "KEAP" will all be imported under one company record. If the company does not yet exist in your CRM, the first instance of the company will determine the case used by Keap and can be edited.
Keap also disregards any spaces before or after company names when importing information, which means " Keap" and "Keap " are treated as the same company.
Custom fields
Create custom fields on the field mapping screen
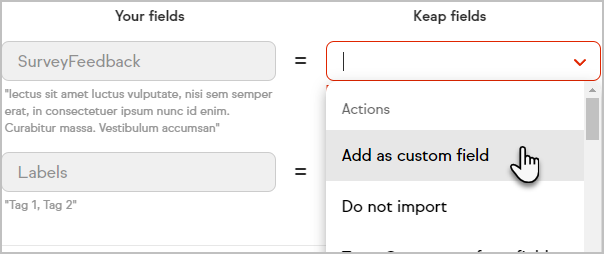
- Click the Add as custom field option in the drop down menu
- The name of the header in the CSV will automatically be added as the name of the custom field
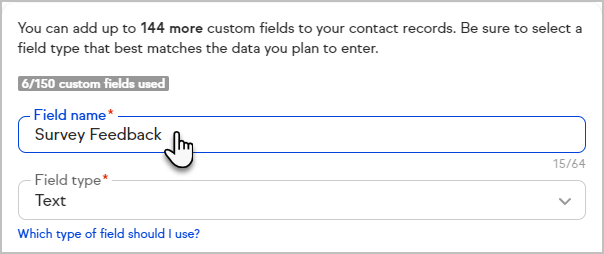
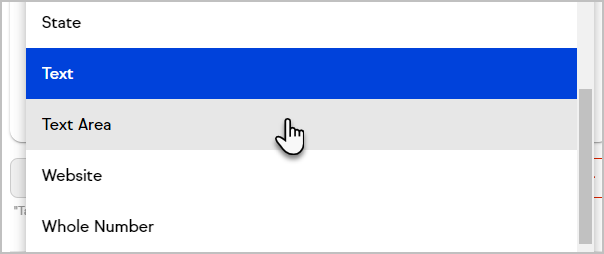
- Click the drop down to select your field type
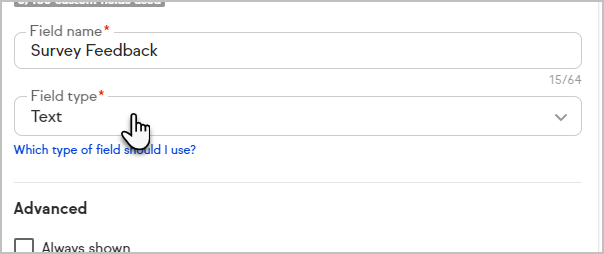
- Select your field type
- Optionally, you can choose to show this field by default while viewing any contact record.
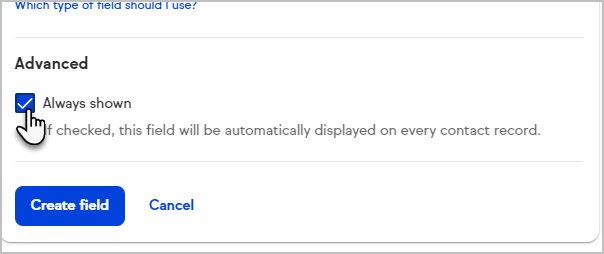
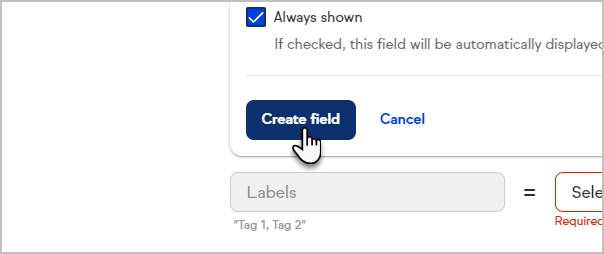
- Click Create field
- Click "Next" at the top right of the page


Indicate permission
The last step is to indicate if you have Explicit permission to send marketing emails.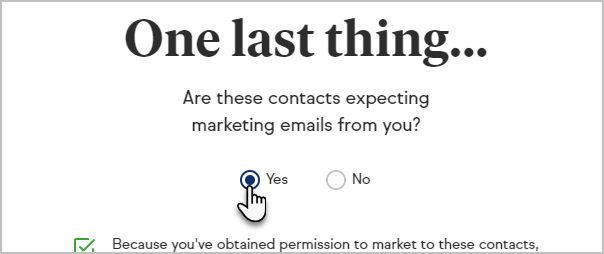
- If you do have permission check Yes (Make sure to review the Acceptable Use Policy)
- If you do not have permission check No (You can send emails directly through the contact record but wouldn't be able to send bulk emails from an Email Broadcast or automation sequence) until your contact opts in.
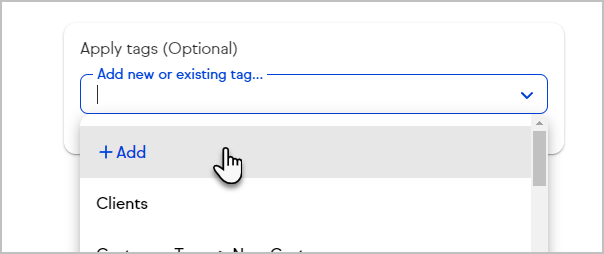
Add tag(s)
You can automatically tag contacts upon import by either choosing:
- An existing tag
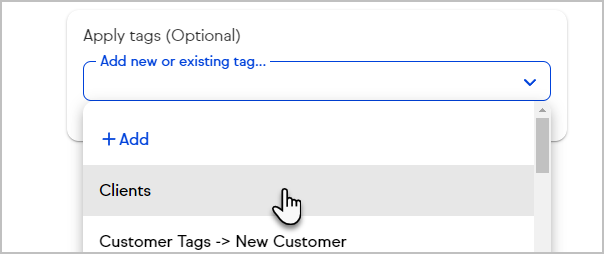
- Or creating a new one on-the-fly
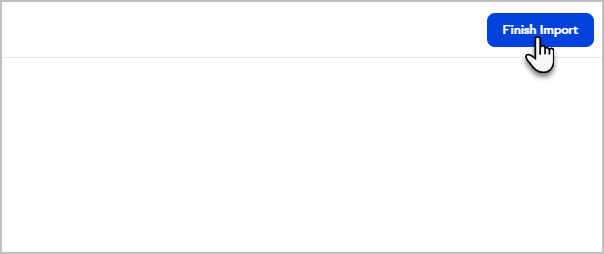
- Click Finish Import when you're done


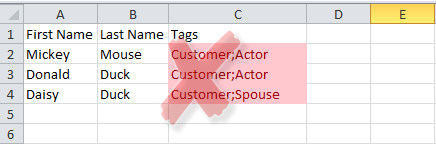
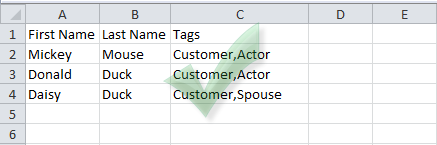
You can also use a Tags column in your spreadsheet to create new tags. Be careful: any column imported as a tag without commas separating the values will result in incorrect tag names.
 |  |
View import
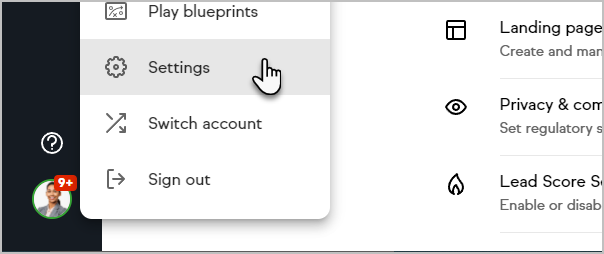
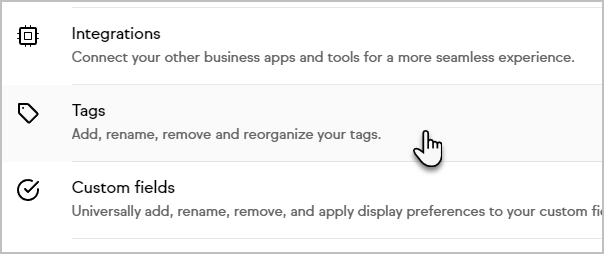
- Go to Settings
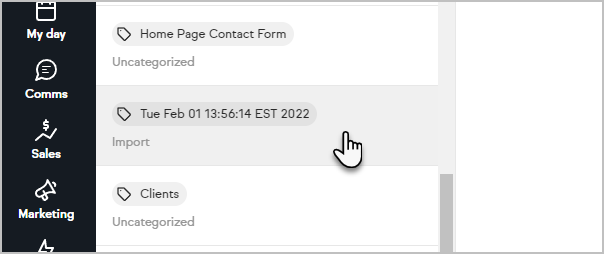
- Go to Tags
- Click on the tag that was automatically created for your import.


Update contacts
You can use our import tool to update multiple existing contacts already in your application based on their email. To update your contacts, create a .csv, .xlsx, or .xls that includes the contact's email and any other information you wish to update, then import the file as normal.
