These instructions will help you download and configure the GDPR Helper Campaign. The purpose of this campaign is to help you better manage the personal information that you store for persons residing in the European Union which is covered by GDPR law.
- Download the GDPR Helper Campaign from the Keap Marketplace.
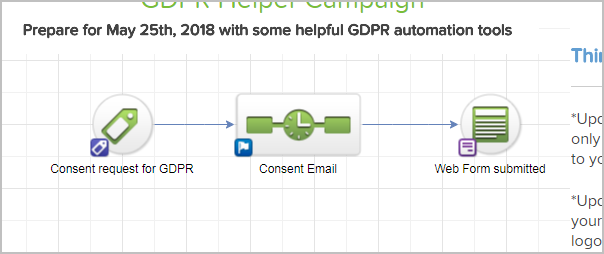
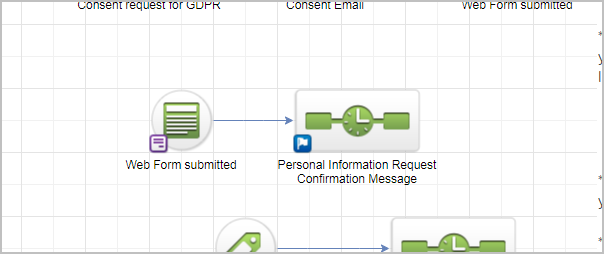
- The top section is a simple process that starts when you apply the Consent Request for GDPR tag to a contact record. When you apply the tag, the Consent Email sequence begins which simply sends the contact an email request asking the recipient to confirm that they would like to keep receiving emails from you. The call to action is a button that goes to your new web form. It is an opt-in form with a GDPR consent checkbox and a link to your company's Privacy Policy (you will need to provide the link.) When the contact submits the form, the Informed Consent tag will be applied to the contact record.

Here are your action items for this
- Open the Consent Email and make any changes that you wish or you can keep the default language.
- Open the Web Form submitted goal
- Add a link to your Privacy Policy below the form
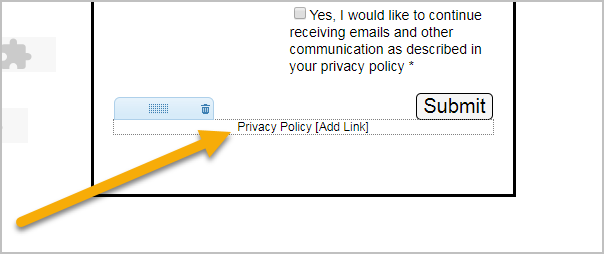
- Make any additional styling changes to the web form and Thank-you page.
- Go to the Code tab and grab the hosted URL.
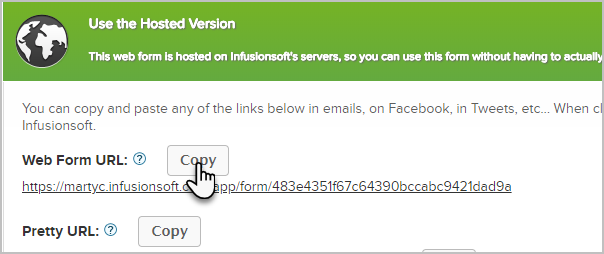
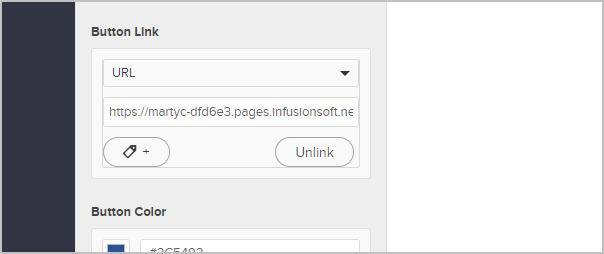
- Go back to the consent email and update the button link with the link to your new GDPR web form using the link you just generated.


The second section is a data request form. According to GDPR, if you store the personal data of someone living in the European Union, you must include an easy way for them to request access to review and make changes to the data. They may want to request access to see their data in your system, they may request that you update or change their personal data or they may ask to be deleted from your system entirely. This form helps you automate those requests. If someone submits the web form, you will receive a task and email notification to let you know who made the request and the details of that request.
- Open the web form goal.
- Make any changes to the design of the web form and thank-you page.
- Click on the Code tab at the top and grab the hosted URL (like you did previously) Add a link to this URL on your website somewhere. For example in the "About Us" or "Contact Us" section of your website.

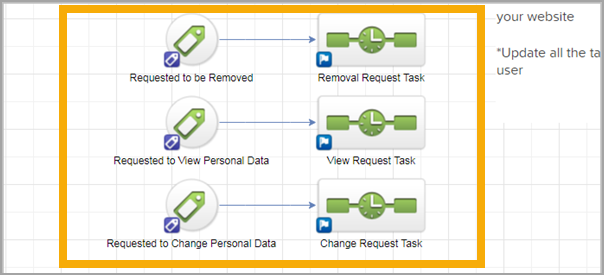
The final section are simply tags that you can apply to a contact manually that create a task for you to do something. For example, someone may email are call you and make a request, you can tag their contact record based on their request.
Here are your action items for this section:
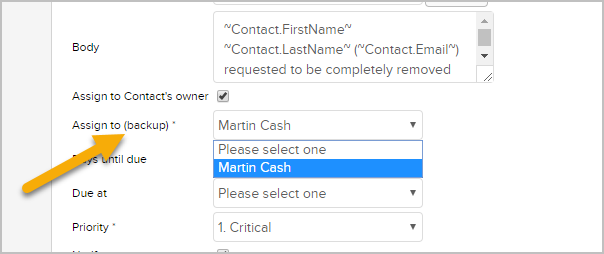
- Open each of the tasks in the sequences and make sure a backup is assigned.
- Make each task as Ready
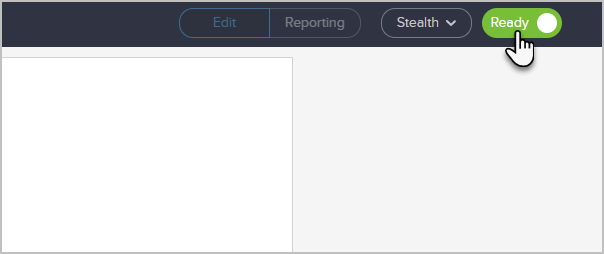
- Your last step is simply to click the Publish button to make everything live.

