Checkout Forms are a unique feature in Keap Max and Pro which allows you to take payment from your customers without an invoice. Build your form, share it with your customers, then kick back and let the money roll in!
Create a Checkout Form
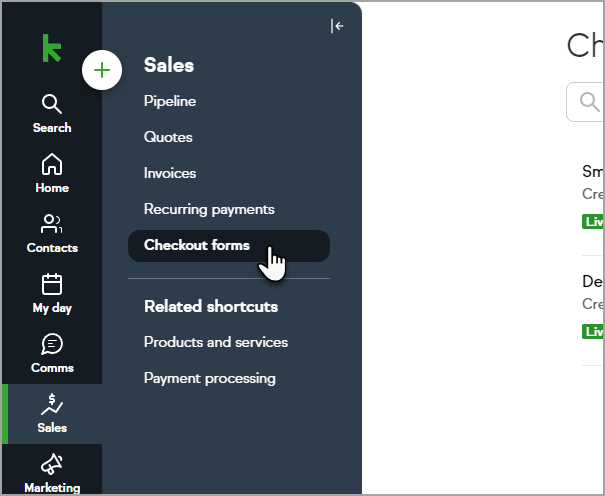
- Navigate to Sales > Checkout Forms
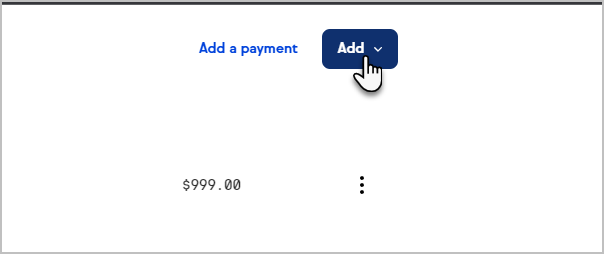
- Click Add
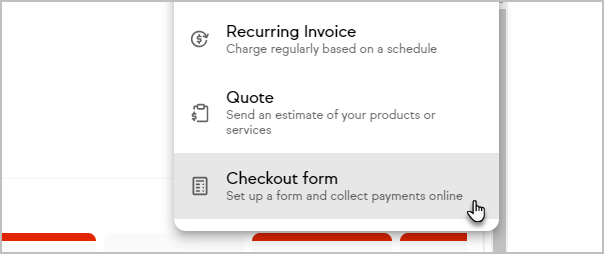
- Select Checkout form
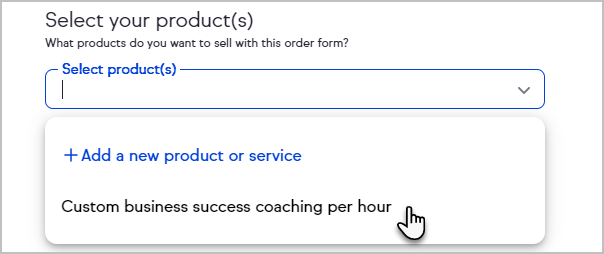
- Select an existing product(s) or create a new product
- Customers who have not set up a payment processor will be prompted to do so at this point
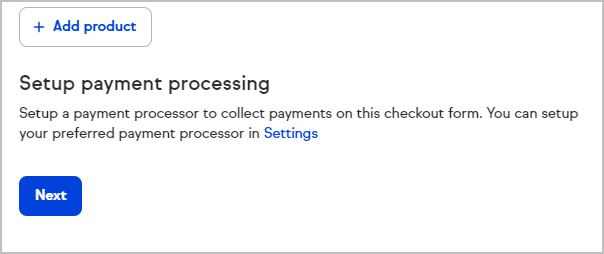
- Click Next
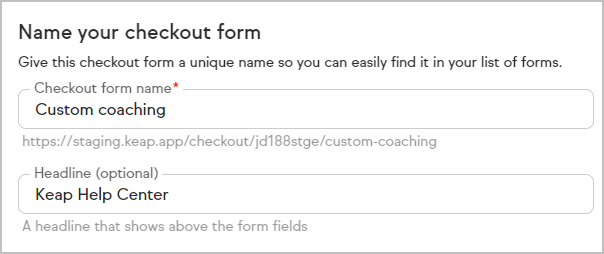
- Create an internal name for your form
- Add an optional headline to display at the top of your form
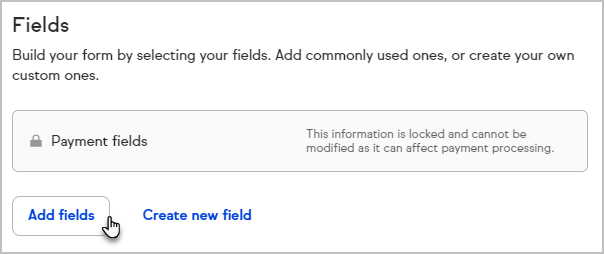
- Add or create fields to capture additional information from your customers
- Click Next
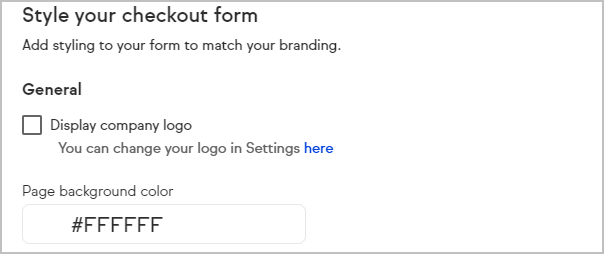
- Style your Checkout Form by choosing to display your company logo and selecting page background and button colors that fit your brand
- Click Next
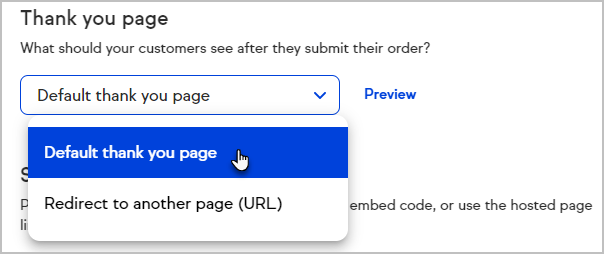
- Choose to use the default thank you page or redirect to another URL
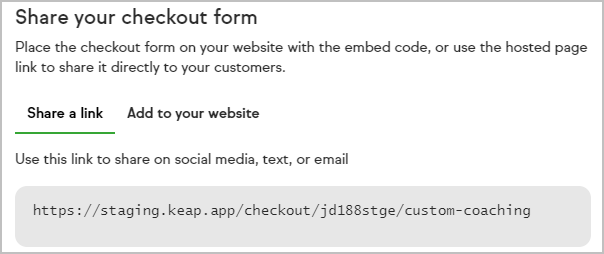
- Your Checkout Form is now live and can be shared with a link or by embedding it on your website
Here's an example of a live Checkout Form: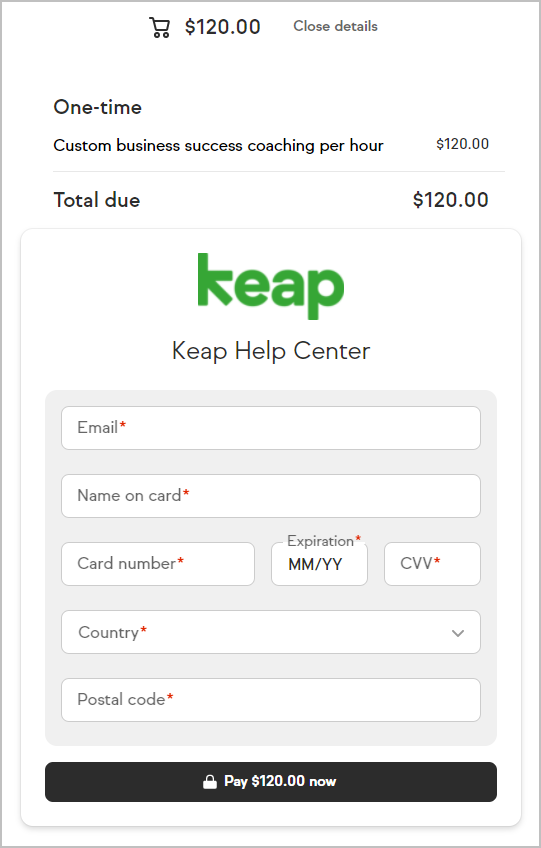
- Click Done to return to the Money > Checkout Forms page
Initiate recurring payments with a Checkout Form
Your Checkout Forms can be configured to start recurring payments, eliminating the need to physically enter a client’s credit card number or invoice them over and over.
When a client pays you through a Checkout Form, you will see a paid invoice for the initial payment and a new recurring payment record will be added to your Recurring Payments tab.
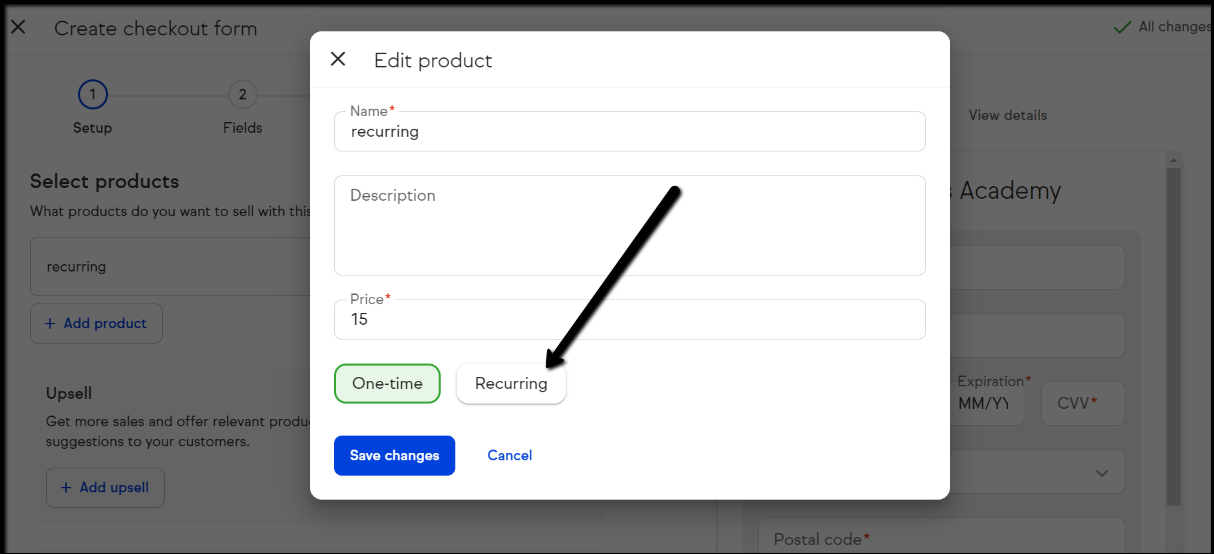
- While adding products to a Checkout Form, open the menu for an item that you want to charge for on a recurring basis.
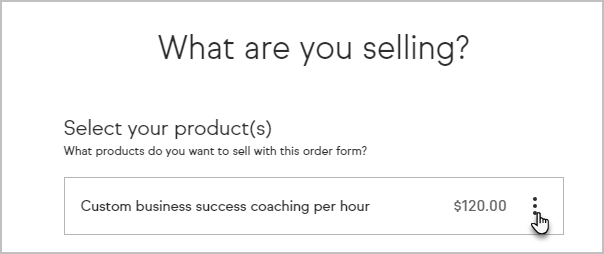
- Click the Recurring button
- Select a Billing cycle
- Choose when to end the recurring charges
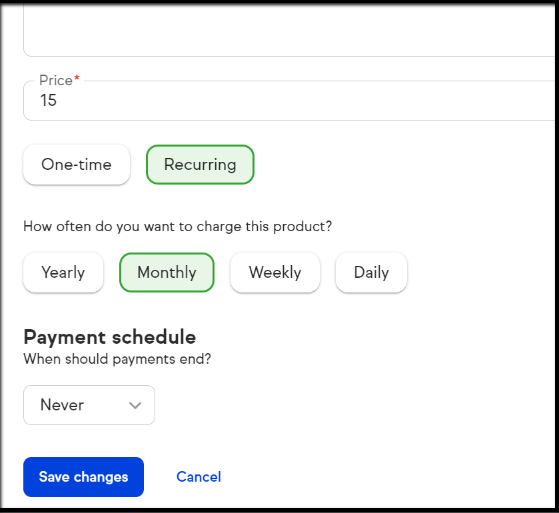
- Save to return to main Checkout page to continue editing
Please note - once you have set up the Recurring payments checkout form you will not be able to view/edit the recurring payment section of the form. You will be able to view the options that you created on the url of the Checkout form itself.
Warning: Creating a large number of checkout forms can result in longer loading times.
- If you need to collect payment from a large number of customers that’s personalized to each person, consider utilizing Keap’s invoices.
Additional Features in Max
Keap Academy
 For more on this topic, check out this training from Keap Academy. Learn at your own-pace as experts walkthrough the set up and application of these features with context and strategic insight.


