Install Keap Mobile to your iOS or Android device
Our mobile app lets Keap users add or access customer info, tasks, and notes on-the-go, keeping you prepared and ensuring you make a winning impression with customers. Mobile reminders and alerts prevent you from missing important to-do's.
Adding contacts directly from your mobile device
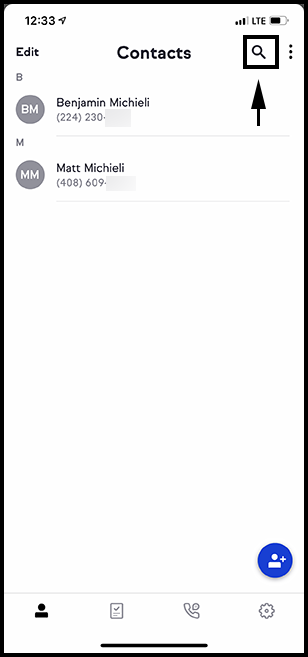
- To access this feature navigate to your contacts list
- Tap Search icon to search for a contact
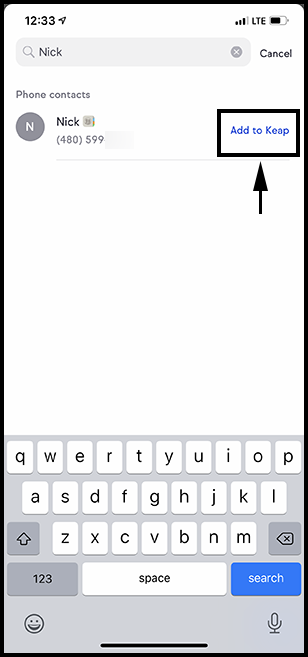
- A) Search for a contact that you know is not in your Keap app but is saved in your device's contacts app. You'll see that we found a matching record in your device contacts.
B) Tap "See 1 matching contract"
- Tap Add to Keap to import a contact, instantly allowing you to make calls, send messages, add notes, and add tasks.
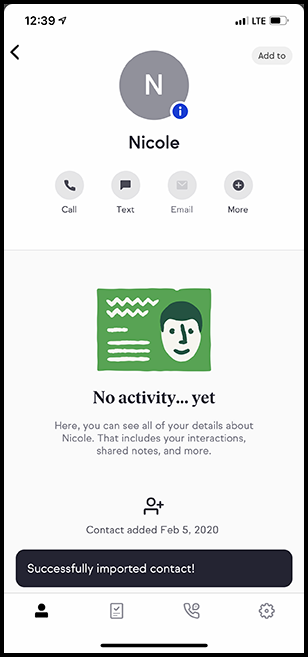
- Congrats! Your contact has been successfully imported.


Adding contacts
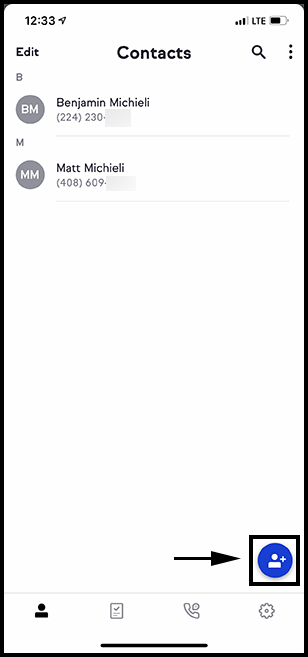
Go to Contacts by tapping the person icon
Tap the add contact button in the lower right hand corner


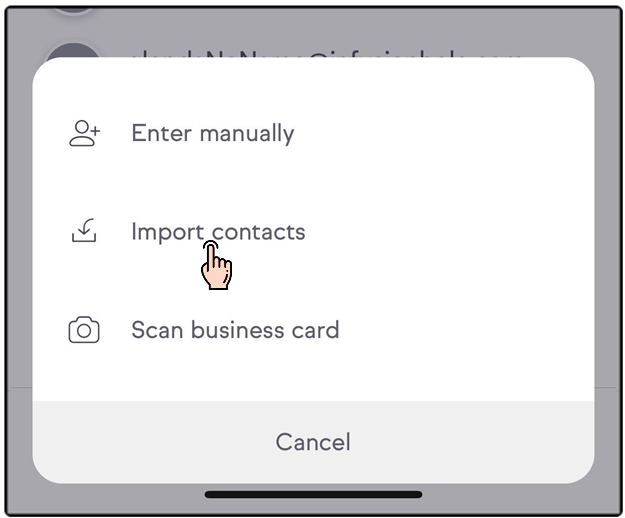
You'll see three options to add contacts:
- Enter manually which will allow you to manually enter in contact details
- Import contacts which will allow you to see the contacts saved on your mobile device and then import to your Infusionsoft application
- Scan business card will allow you to take a picture of a business card that will automatically transcribe the text allowing you to easily add a contact
Entering manually
Tap Enter manually

Enter in your contact's information
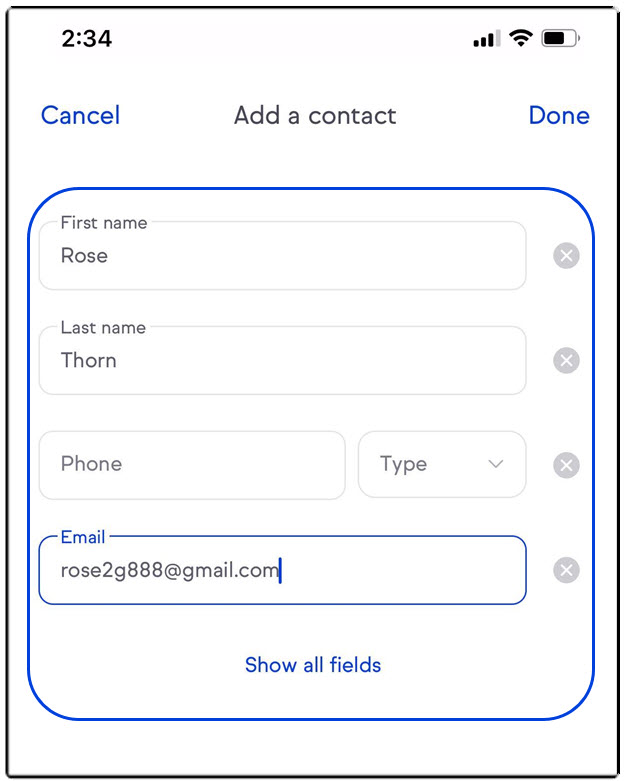
Tap Done
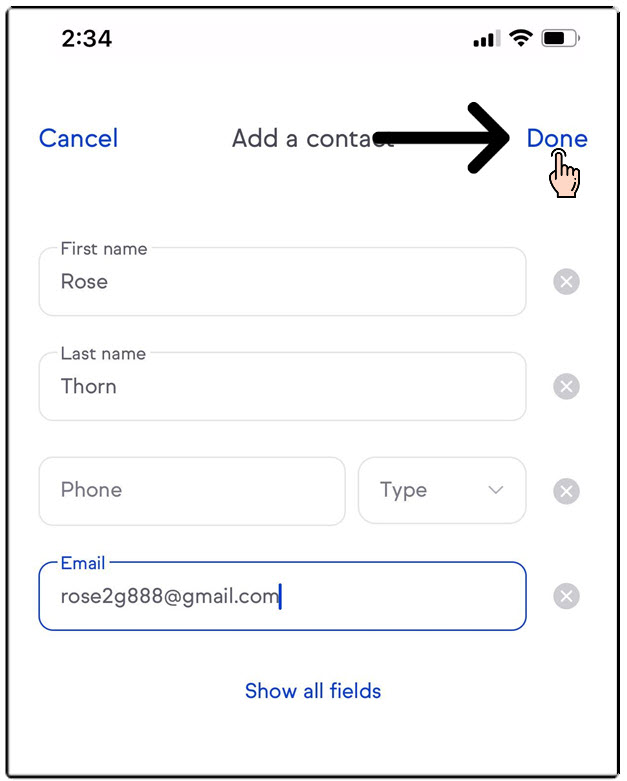


Note: Either a first name or email must be entered to save a new contact.
Scan a business card
- Go to Contacts by tapping the person icon
- Tap the blue add contact button


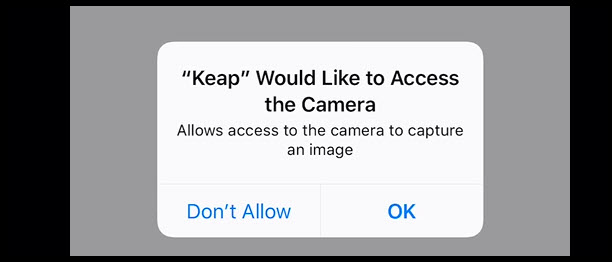
Note: The first time you scan a business card the app will ask permission to access your camera. Tap "OK" to give permission.
- Position the business card in the frame
- Tap on the camera action button on the bottom to capture the image
- Once the image is captured it'll take 1-3 seconds for the transcription to work
 Click to view larger

Pro-Tip! Steady your hand to take the best picture. If the image is blurry or the transcription missed content, tap on the Retake photo button to try again
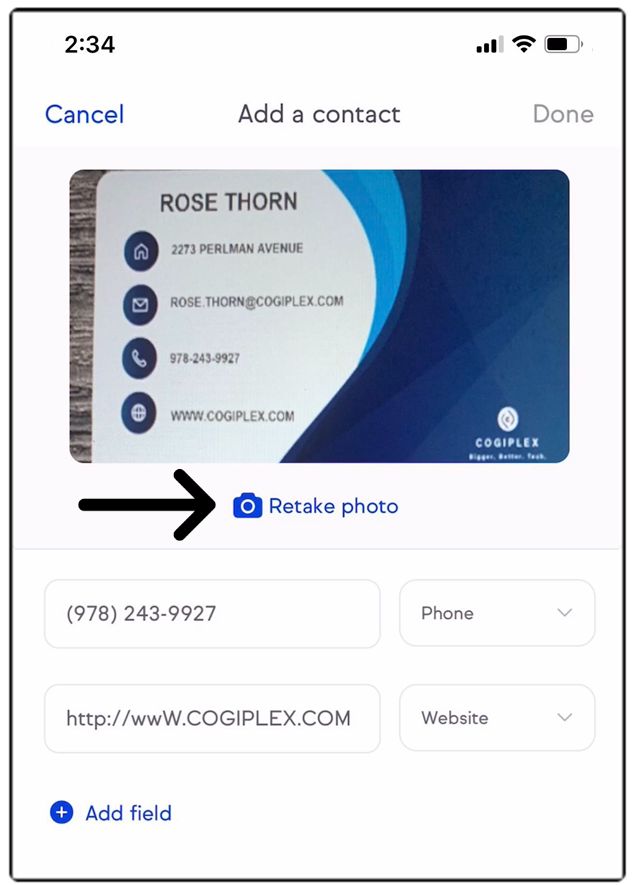
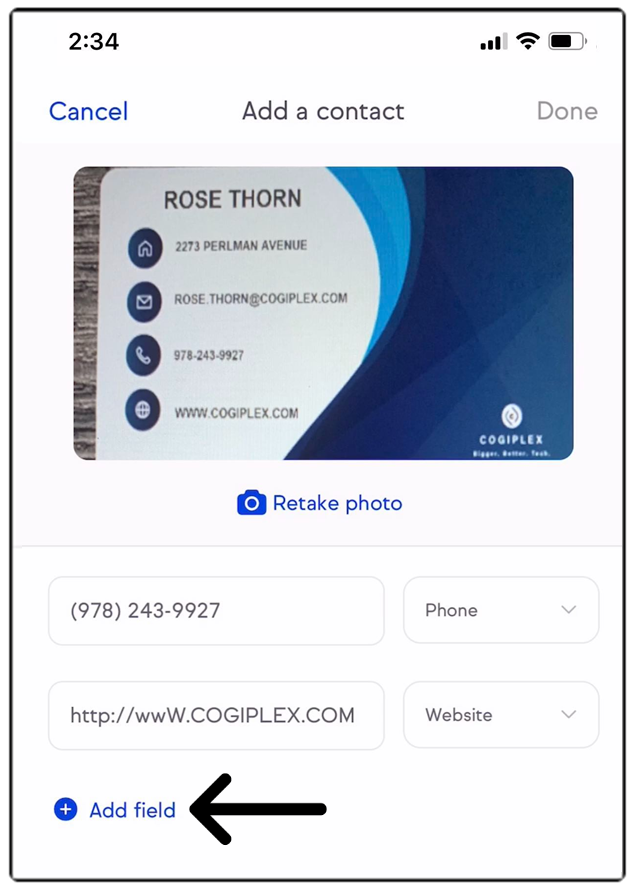
- Review the information and edit as desired
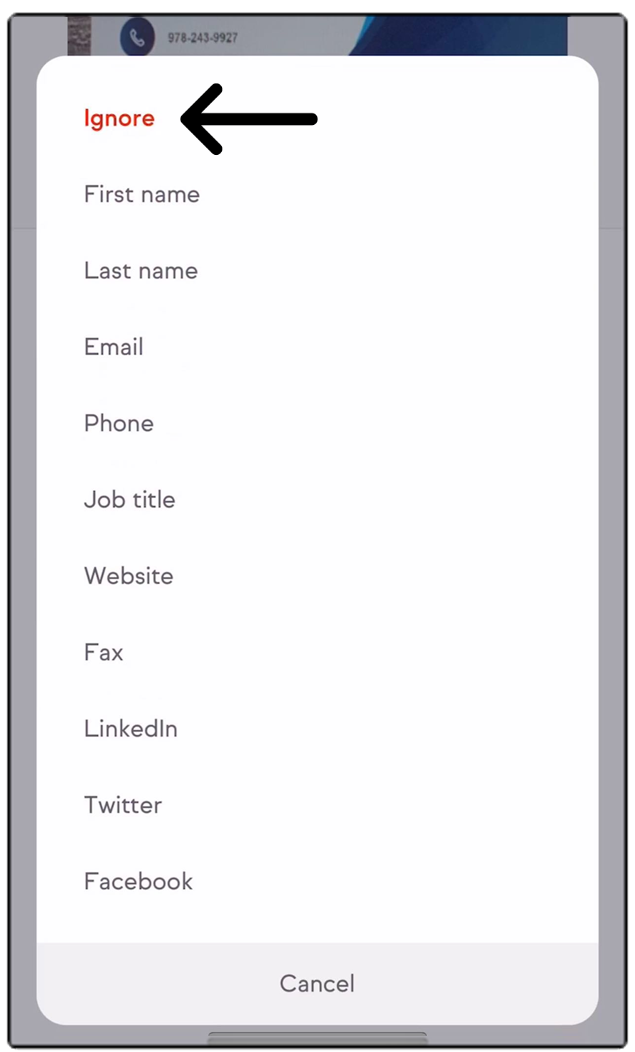
- If you would like to change a field type simply tap on the field type and select a different field.


Supported field types:
- First name
- Last name
- Company
- Phone (phone extensions are not supported)
- Job title
- Website
- Fax
- You can tap on "Ignore" if you don't want to save a specific field

- In some cases, a business card has content on the back of a card like a name or website. In these situations you can tap on +Add a field to add an additional field and manually enter in details.

- When you're ready to save the contact tap on Done
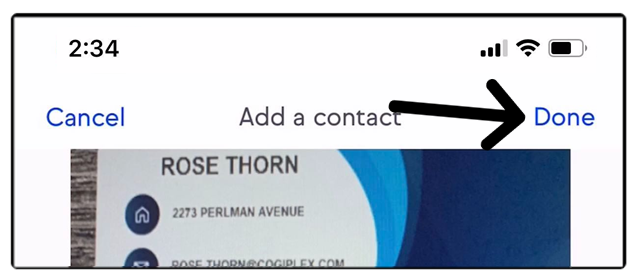

Note: In order to click "Done" one of the three fields must have: Email, First Name, or Last Name.
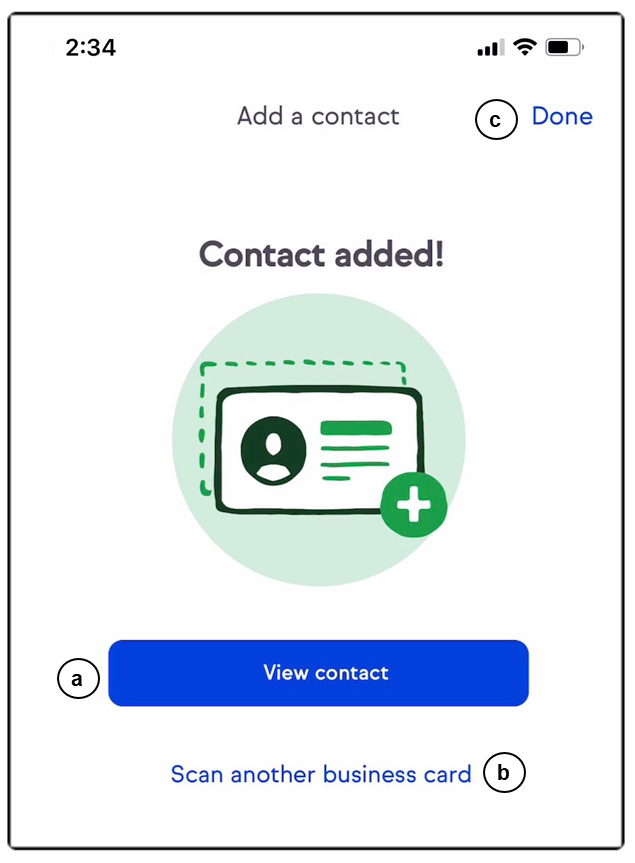
The next screen will allow you to:
- View the newly created contact
- Scan another business card allowing you to easily scan multiple business cards
- Finish by tapping on Done

Importing contacts from device
- Go to Contacts
- Click the blue + located on the bottom right
- Tap Import contacts


Note: The first time you import contacts, the app will have a Import contacts button and then ask permission to access your contacts. Tap OK to give permission.
- Scroll through the list and select the contacts to import
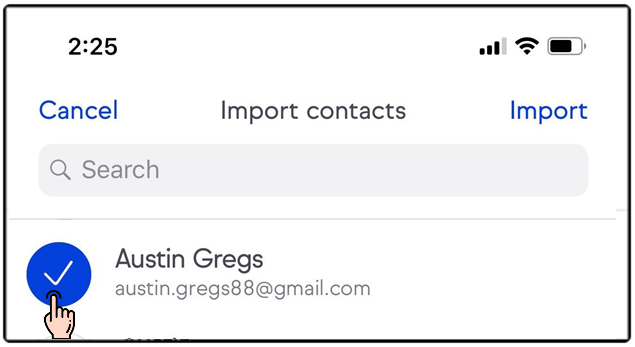
- Once you've made your selection, tap on Import


Pro-Tip! Contacts are instantly uploaded. Meaning you can find them through the Desktop right away. The mobile app refreshes every 10 minutes but simply pull down to help the app refresh.
 Click to view larger