How to setup an advanced automation that will send and/or run an action continually.
Create your automation
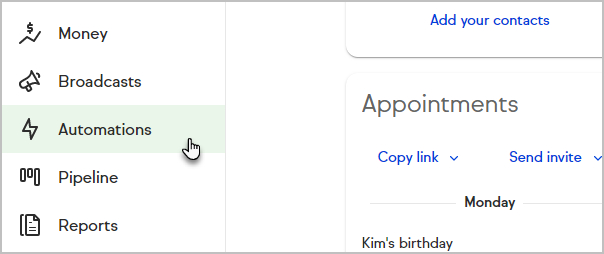
- Click on Automations in the left-hand menu.
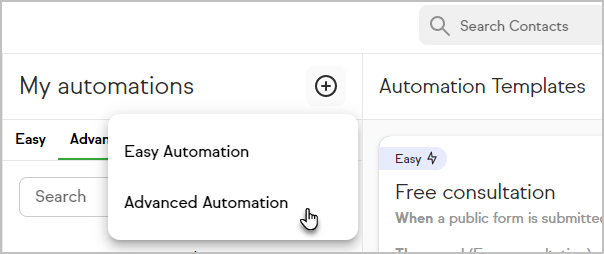
- Click the + button to create a new automation and choose Advanced Automation.
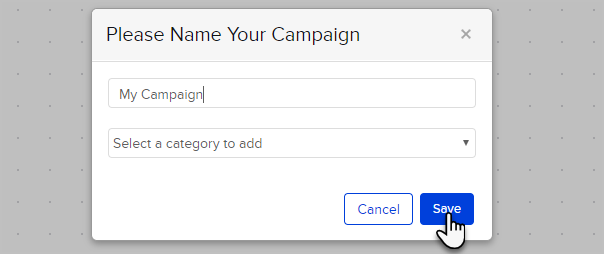
- Name your automation and click Save.
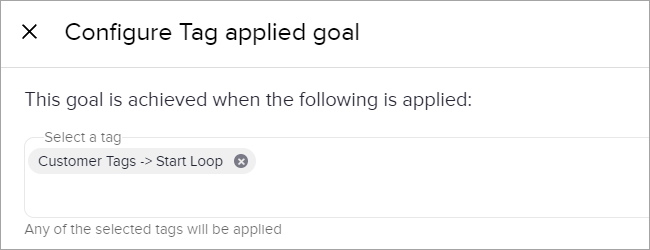
- Drag out two Tag Applied goals.
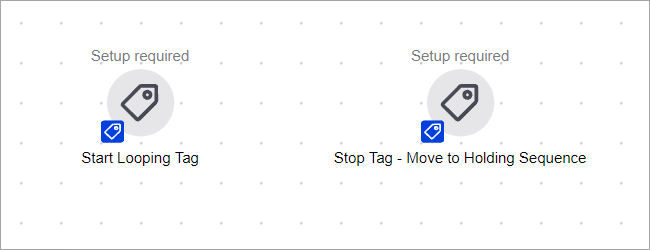
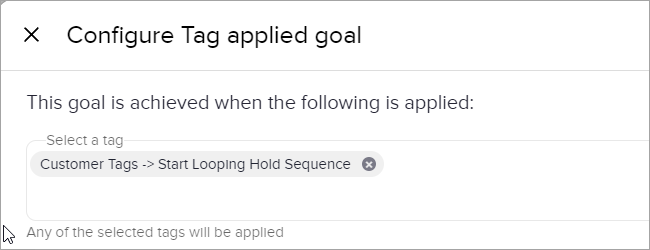
Create two different tags -- one for each goal
Add a sequence between two tag goals, and connect the entry goal to the sequence, and the sequence to the exit goal


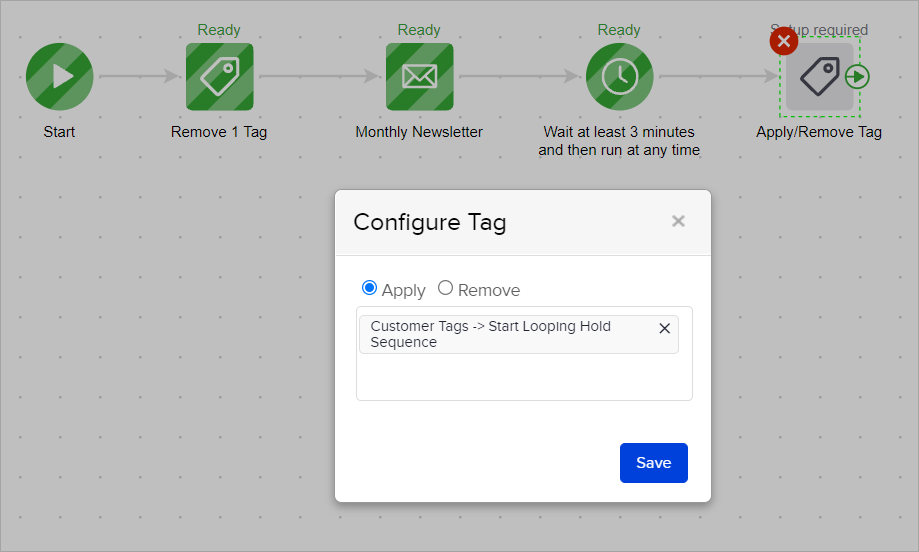
In the sequence
Double click on the sequence
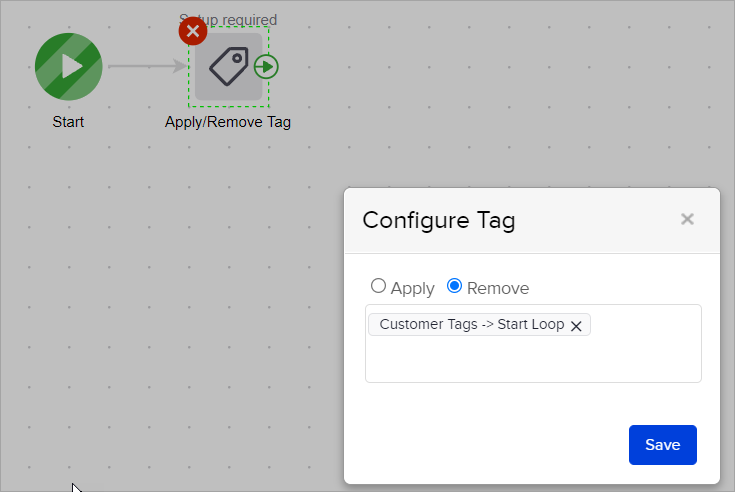
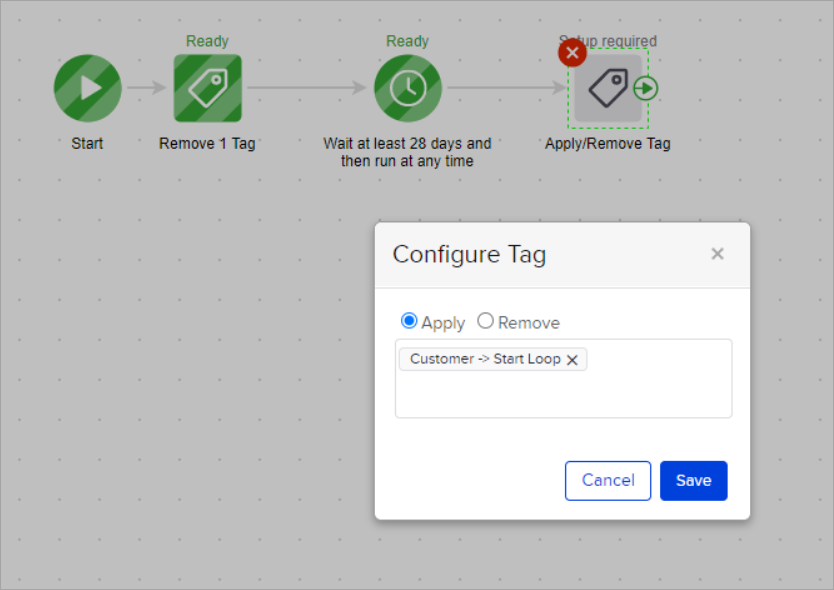
Add an Apply/Remove Tag process after the Start timer
Set the process to Remove "Start Loop" tag
Next add steps (timers, emails, etc)
Then a timer for at least 3 minute
For the final step, add an Apply/Remove Tag process to apply "Start Looping hold Sequence" tag


Create Second Sequence
Drag out two new tag goals, and place a sequence between them, connecting the items
Set the first tag goal to be achieved when "Start Looping hold Sequence" tag is applied, and the second tag goal for when "Start Loop" is applied
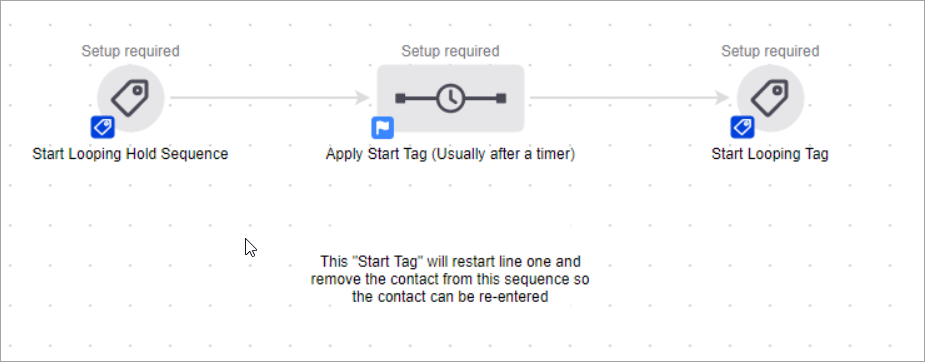
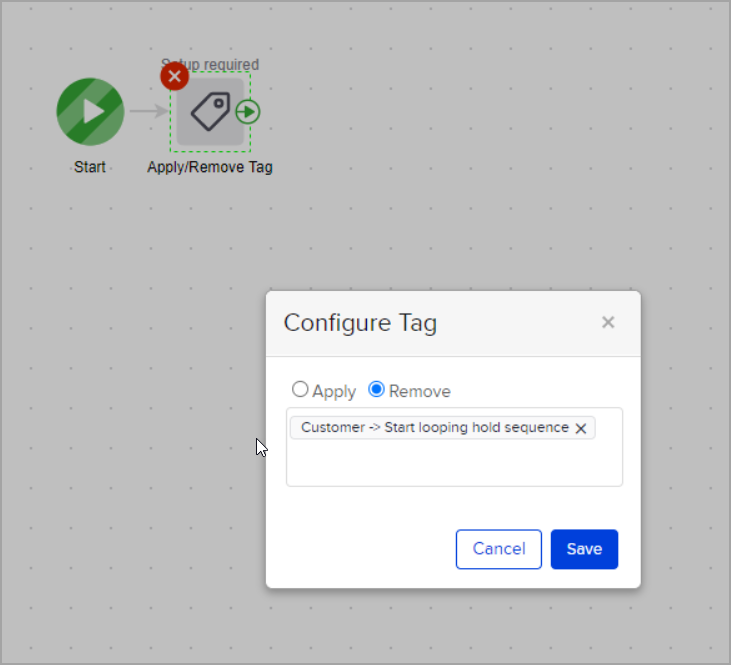
Remove "Start Looping hold Sequence" tag
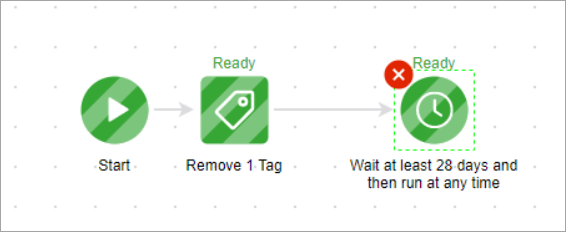
Set timer for desired wait time before the contact is looped
Apply "Start Loop" tag


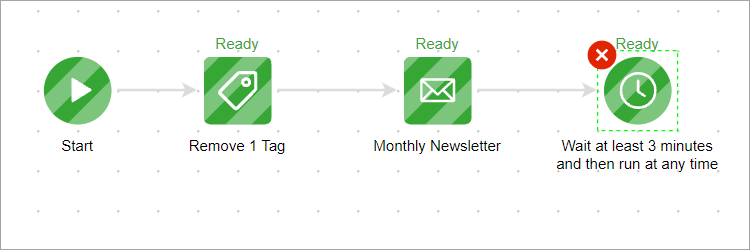
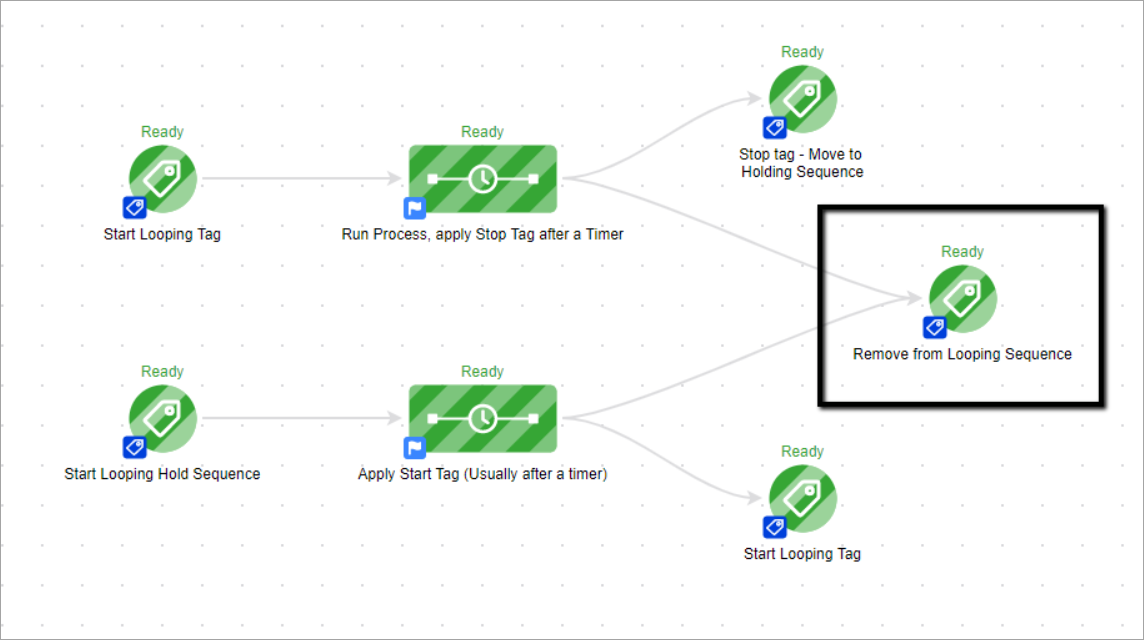
The loop will end up looking like this:

Add End Loop Goal
Add Goal
Drag a 5th Tag goal and place behind all sequences
Set the Tag Goal to be achieved when "Remove form looping automation" tag is applied
Apply Tag
The "Remove form looping automation" tag can be manually applied in the contacts record OR you can create a process to applies it. For example if you created a process to apply the tag when a Opt-Out Web Form/Landing Page is submitted, that would apply the tag and therefore remove the contact from the loop

Field/Date Timers
In situations where a Field/Date Timer is needed create a second sequence to apply the "Start Loop" tag

Pro Tip! Because the restart tag is applied in a different sequence line you wont run into the "Single Looping Line issue". Read more here
Why this setup over other ways of creating a loop?
This method is more reliable than the Tag Goal -> Sequence -> Tag Goal, because when goals are achieved simultaneously, there is a margin of error in which the can trigger the start goal before the end goal, causing contacts to drop.
It is also more secure than Tag Goal -> Sequence -> Sequence -> Tag Goal, while most single line loops work, a contact can start into the first sequence before the end goal is achieved. Once it is achieved, the contact would be removed.
By using two separate tags, and two separate sequences, we can ensure that the contact will loop properly