Creating/Adding a User
- Click on your avatar and choose Settings

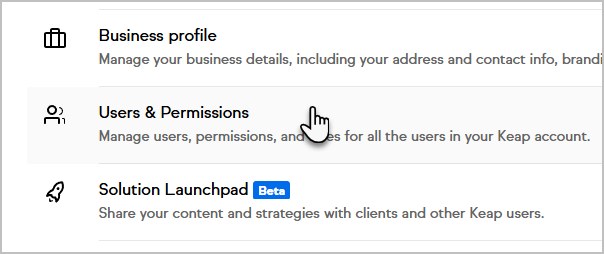
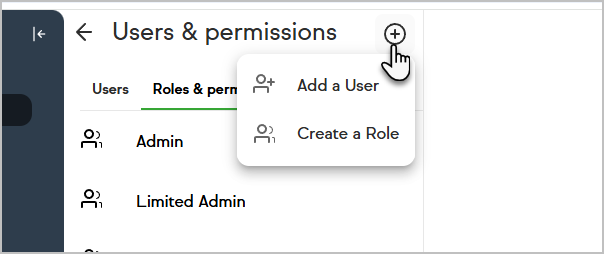
- Click Users & Permissions
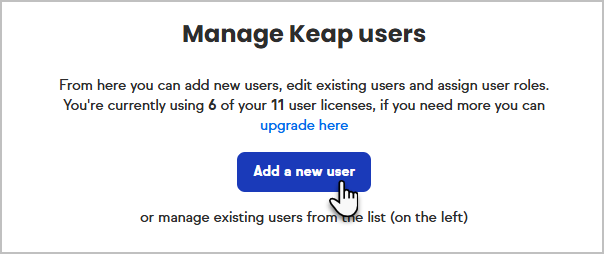
- Click Add a new user
- Enter the name and email of the user or partner you'd like to add. Partner emails will be validated to make sure they are a Keap Certified Partner
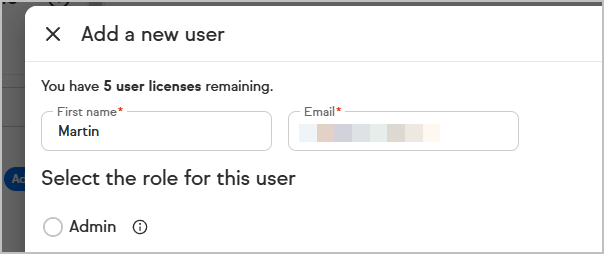
- Select whether the user is an Admin, Limited Admin, Manager, or Staff. Additional roles can be added. Note: All users, regardless of user role, can view SMS Messages on the Keap website and mobile app. Other roles may be available if they have been previously created, and you may additionally create a new role if the role you wish to assign doesn’t exist. To do so from the user creation process, click the Add a new role button below the list of roles available to pick from. We will cover this step separately in this guide.
- Admin: This role has full account permissions. Only give this role to trusted people.
- Limited Admin: This role has admin access with the exception of account setup access and the ability to add admin users. Limited admins cannot create Advanced Automations, but can modify, publish, and unpublish Advanced Automations. Note these actions are missing from this role: Mass Update Contacts, Mass Merge Duplicate Contacts, Reassign Contacts (Batch), and Start/Stop a Campaign Sequence.
- Manager: This role has permission to do everything but manage users and merchant account information. Managers cannot also create Advanced Automation but can modify, publish, and unpublish Advanced Automations. Note these actions are missing from this role: Mass Update Contacts, Mass Merge Duplicate Contacts, Reassign Contacts (Batch), and Start/Stop a Campaign Sequence.
- Staff: This role has limited access and can only view their own contacts, tasks, and deals assigned to them. Staff users cannot access Broadcasts, Easy/Advanced Automations, or Reports or contact groups. Staff users cannot add or delete stages from their Pipeline.
- Click Send user Invite. This will send an email to the user inviting them to set up their username/password for the Keap App and they will have the Manager permissions


Creating a Role
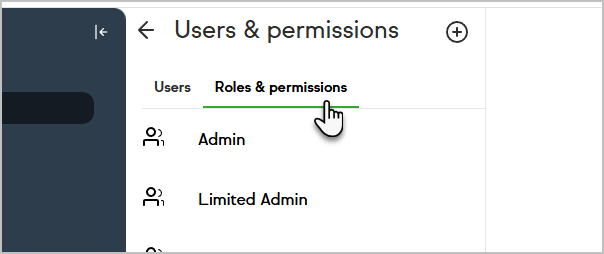
- There are several ways to create a custom role. The first is during the add user workflow covered above as part of Creating/Adding a user. Additionally, you can do so by navigating to Users & Permissions, and clicking on the Roles & permissions tab.
- Once there, click Create a new role from the button, or by pressing the + symbol
- From there, you can specify a name for your new role, and pick an existing role to copy permissions from. This will save you time in specifying the permissions associated with the particular role, however you will still be able to modify any permission.
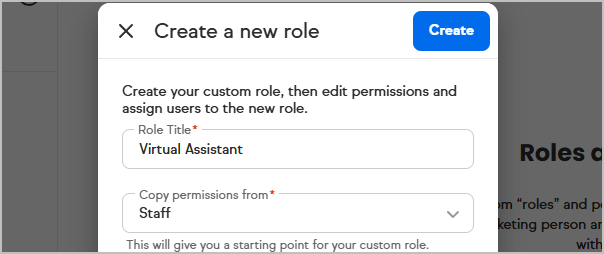
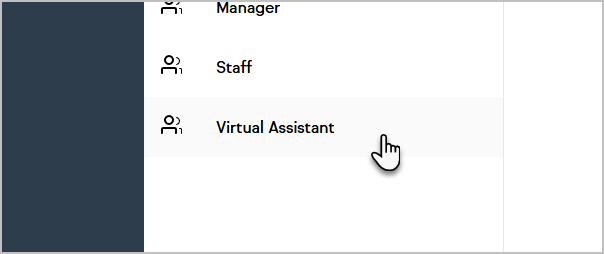
- When ready, click Create and then your new role should be available from the list of roles on the left hand side of the page to select.
- Congrats on creating a new role! Next we’ll cover permission management.


Managing Permissions
- If needed, first click on your avatar and choose Settings, then navigate to Users & Permissions, and finally click on the Roles & permissions tab.
- Once there, click on the Role whose permissions you wish to edit from the left hand side of the page.
- This will present you with the Edit role page, and you’ll see a list of currently assigned users. Note that any changes made to permissions will affect all users in this list, as well as users you add to the role in the future.
- Click on the Permissions tab in order to view and edit the permissions.
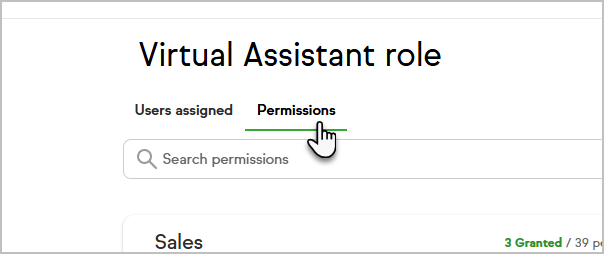
- Note that each set of permissions is categorized, with a summary showing the number of permissions granted within that category. You can expand or minimize each section depending on what permissions you would like to view or adjust. Note: you can search for a particular permission if you are having trouble locating it.
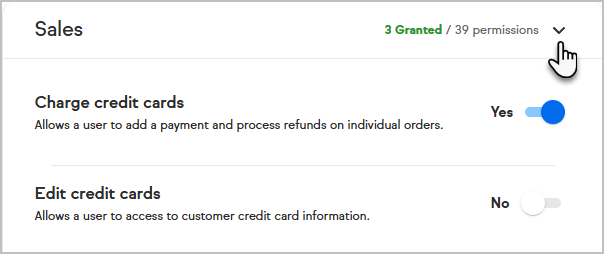
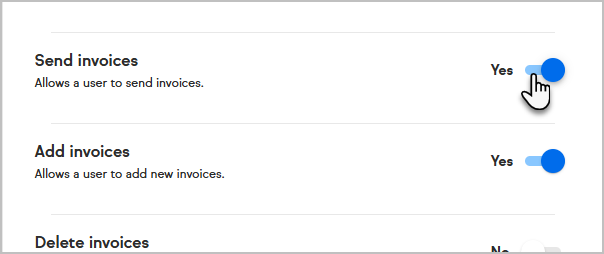
- To adjust permissions, simply click the toggle next to each permission name. This will grant or remove permissions depending on its current state.
- When ready, click Save at the top right of the page and the changes to the role will be saved for all users currently or later added to the role.


Changing a user’s role
- To change a user’s role, If needed, first click on your avatar and choose Settings, then navigate to Users & Permissions, and finally click on the user in question by finding them in the left hand side list of users, or by typing their name in the Search users field.
- Once the user is selected, click the Role dropdown underneath their user icon, and specify the role they should be reassigned to.
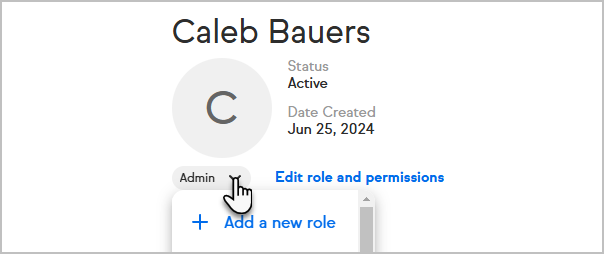
- If the role you wish to add them to does not yet exist, you can create a new role by clicking Add a new role instead. See Creating a role steps above for how to create a role.

User Preferences (Ultimate only)
When accessing any User from the user list, Ultimate users will be able to see & access their User preferences which are existing Ultimate user preferences
User Teams (Ultimate only)
When accessing Users from the user list, Ultimate users will be able to see & access the Teams tab, which are a concept relating to Ultimate only. Clicking ‘View user groups’ will open up a modal to view and adjust user groups for that user in Ultimate.
