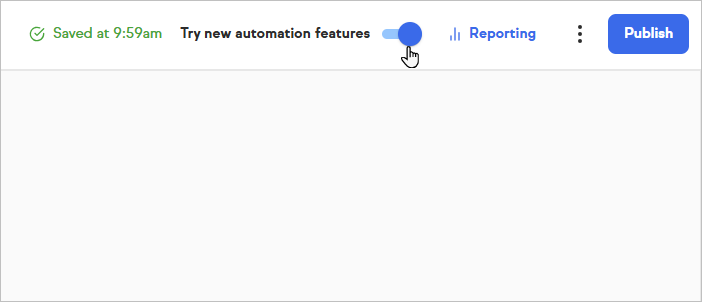
To turn on these new features, simply toggle “Try new automation features” on at the top of any automation canvas.
The new features
New automation builder enhancements elevate the way you approach building an automation by allowing you to choose When’s or Then’s right on the canvas, instead of pulling them from the side menu. We call this “adding inline”, since you can add elements in line with the automation you are creating. If you zoom to 100%, you will see a transformation of the smaller icons to larger cards with a more detailed explanation of the contents of each When or Then. To return to the icon view, simply zoom out. Let’s see some examples of both of these new features in the photos below.
Adding Inline
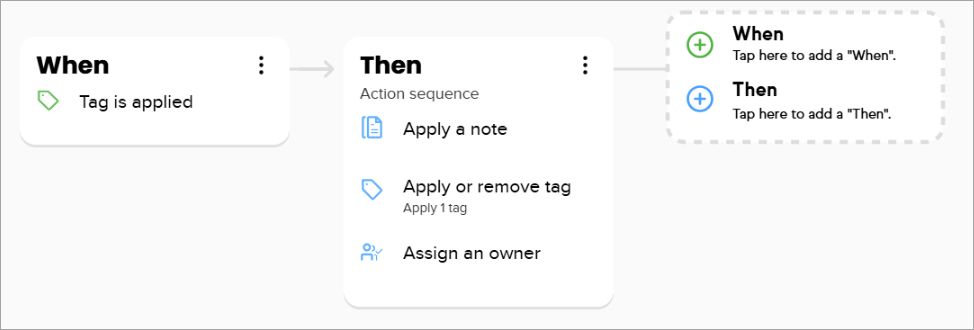
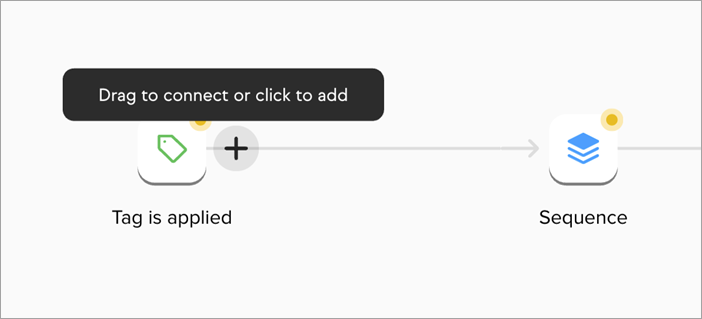
As you can see below, by using inline add you can add Whens or Thens directly within the context of the automation you are building, instead of pulling them from the side menu. Simply click on the + button and select the When or Then you would like to add next. There is no more wondering if a When or a Then can go after your previously selected element. For example, after the When below you can only add a Then, so you only have the blue Then option after the green When.
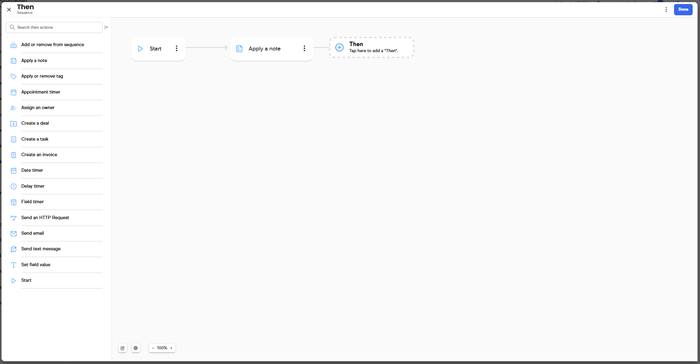
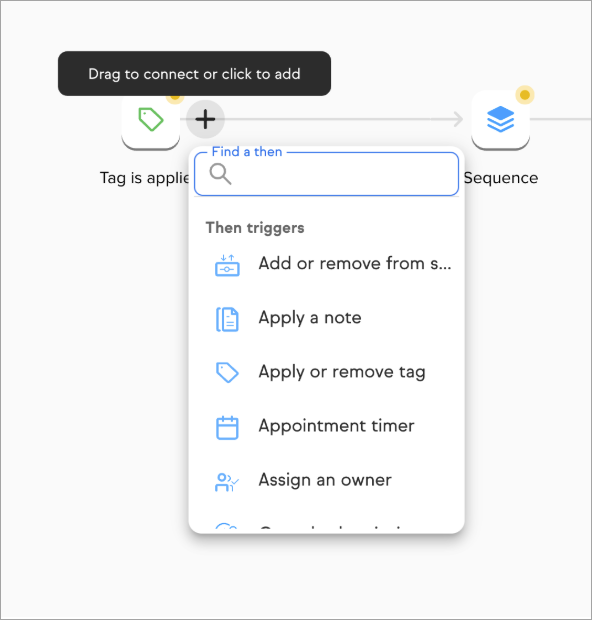
Once you click on the +, you will be presented with options similar to those seen below. The When’s and Then’s are searchable and alphabetized - similar to how they are presented in the side bar.

100% Zoom View
When you zoom to 100%, you will see the icons transform to larger cards with more context.

Up to 3 elements with a When or a Then will appear in the text on the 100% Zoom view.
The 100% Zoom view is also available within a Then modal.
You can collapse both the side bars on the main canvas and in the Then modal for increased canvas space as you use the ability to add inline.

Adding inline on all items
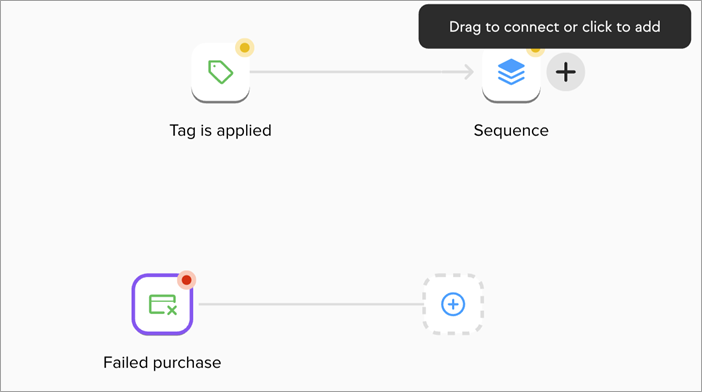
You may not see the add inline extension on every single element on the canvas, but this doesn’t mean you can’t use inline add on each element. For example, let’s look at the images below. In the first image, you are only seeing one + extended off the side of an element. The Failed Purchase When is the most recent element I pulled onto the canvas, which is why it has the add inline menu present. However, if I wanted to then add inline on the Sequence above, I would need to simply hover over the Sequence icon to have a + animation appear.
Upon clicking the +, another menu will drop down containing all the When or Then options for that sequence. You can search for these Whens or Thens.

Once you select a When or Then, it will appear after the original element.
Adding Inline Between Elements
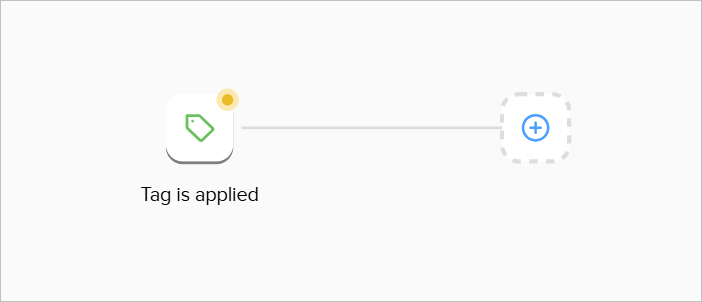
You can also use Inline Add between elements on the canvas. These elements will automatically be connected to the elements that surround them. See the images below for an example.
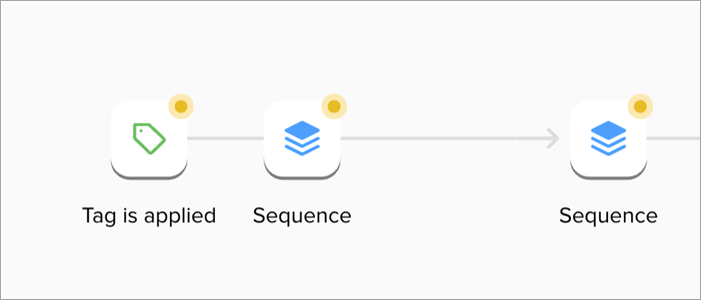
To add an element between this Tag is applied When and the Then Sequence, hover over the Tag is applied When to get the + to appear. Click the + to get the menu to appear, then select a Then.
The new Then will be added between the two original elements. If you don’t want to use the + to add inline but instead to connect to other elements, click and hold the + to turn it into an arrow. Then proceed to use the arrow as you would originally to connect elements to one another.
FAQ
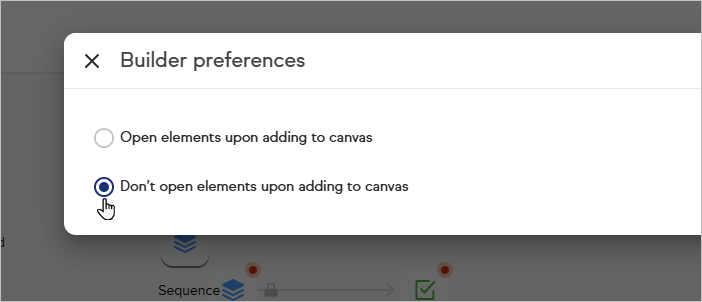
What if I don’t want to have the elements open automatically when I drag or select them?
To not have the elements open automatically, simply follow the steps below:
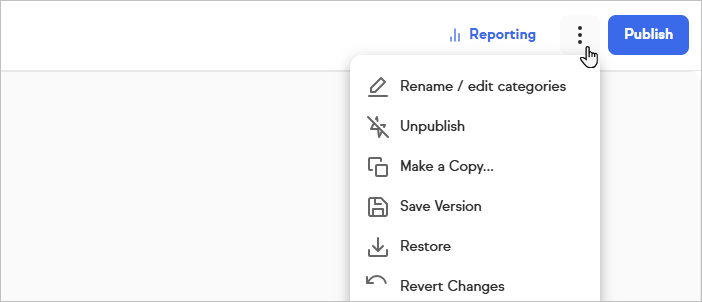
- Select the kebab menu in the upper right corner of the automation
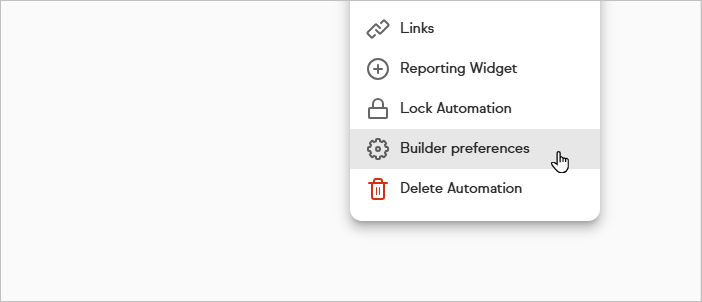
- Select Builder Preferences
- Select “Don’t open elements upon adding to canvas”
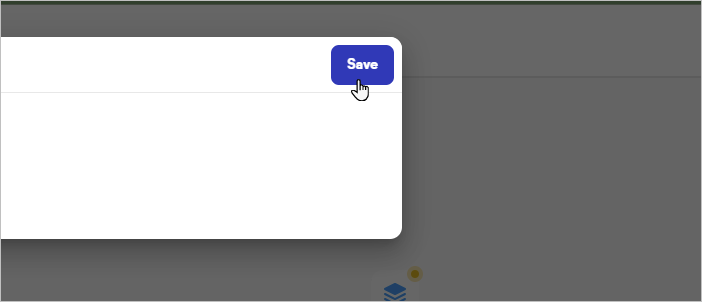
- Save your selection


Can I still drag elements onto the canvas?
Yes, you can drag and drop elements onto the canvas, and use the side bar as you normally would.
What if I don’t want to have the new features?
If you would prefer to keep things as they are, simply toggle off the “Try new automations features” toggle in the upper right hand corner of any automation.
I added inline between two elements, but I’m not seeing my new element.
If the original two elements are very close together, the new element may be overlapped by one of the original elements. Ensure that your elements are far enough apart so that the new element can appear between them. This may also change depending on what zoom you are working in. If you use the add inline at a smaller zoom, then zoom in to the 100% view, you may see some overlapping of the larger cards which may obscure your new element. However, the new element is still on the canvas. You will need to re-arrange your elements accordingly when working in different zoom levels.
My elements are overlapping - is this an error?
We allow for you to have full control over where your elements are on the canvas. If they are overlapping, that is not an error. To fix this, please drag your elements to the appropriate positions on your canvas.
When I zoom in, the 100% Zoom View elements are overlapping.
This may happen depending on the Zoom View in which you build your automation. If you build your automation in the 50% zoom view, then zoom to 100%, the elements may appear closer together or overlapping. Again, this is not a technical error, but your choice as to how you’d like your automation to appear.
Why can’t I find a specific When or Then in the add inline menu?
Some elements need to have specific Whens before them, so if the When is not on the canvas, its corresponding Then will not be an add inline option. This is to prevent errors as you are building your automation.
