Easily capture leads with a public form. Create your form in just a couple of minutes, then share it wherever you wish you capture contact information, such as your website, Facebook page, or Instagram account. Leads who provide their email when filling out your form will receive an email confirmation thanking them for reaching out.
Access your public forms
- Go to Marketing > Forms
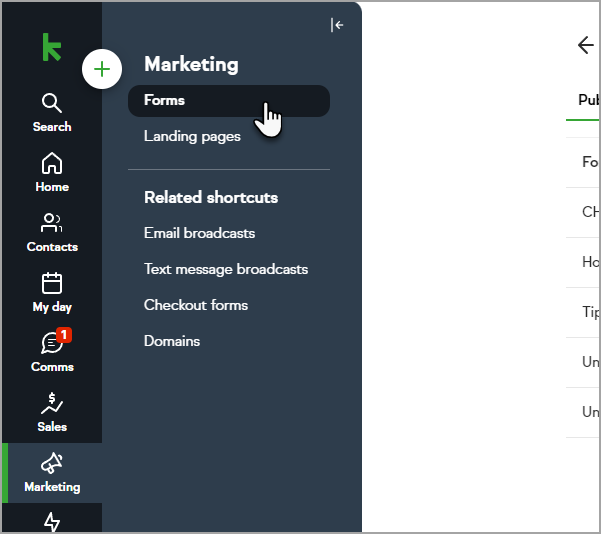
- Click Public forms


Create a public form
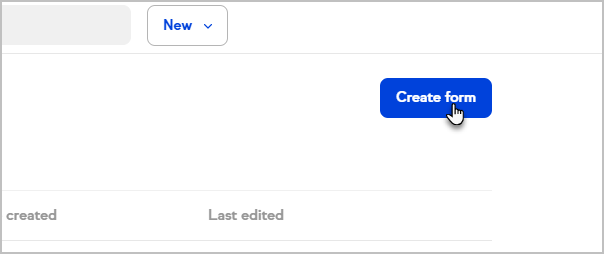
- Navigate to the Forms page
- Click Create form
- Select Public
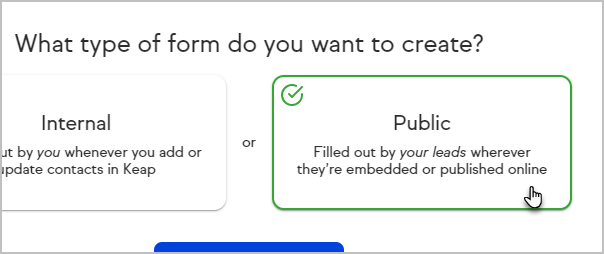
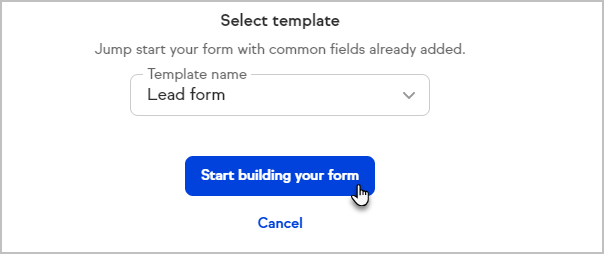
- Select a form template
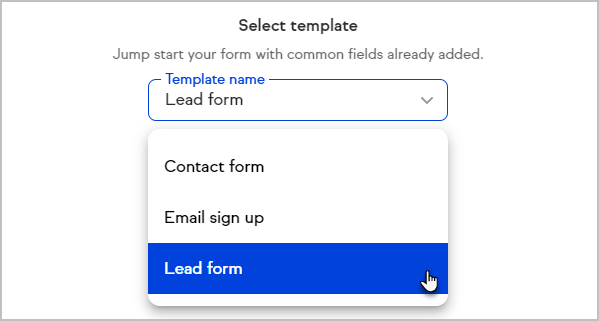
- Click Start building your form


Keap will save your progress as you build your form. If you need to stop in the middle of creating your form, click the Save and exit button.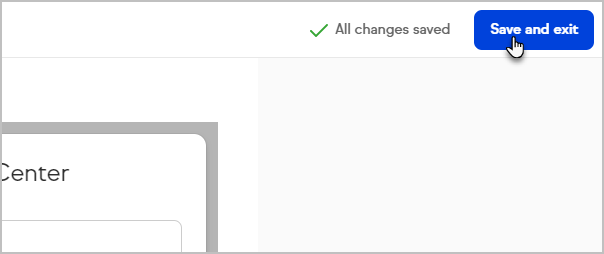
Step 1: Build - Details
First, customize your form details by naming it, creating an internal description, and customizing the submit button.
- Enter a Form name
- Enter an optional Headline which will be displayed at the top of your form
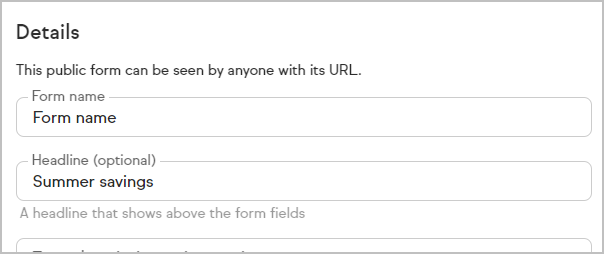
- Enter a Form description or instructions which will only be visible in the form builder
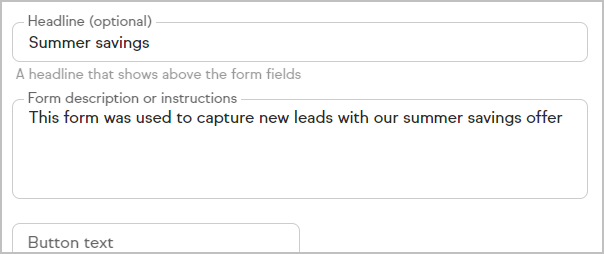
- Customize the Button text for your form's submit button or leave it empty to default to "Submit"


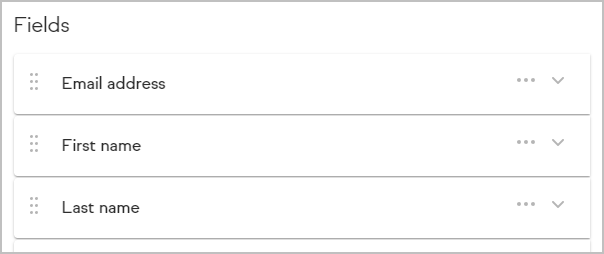
Step 1: Build - Fields
Depending on the template you select, public forms include fields like first name, last name, email address, phone number, and phone type. You may add additional fields or even remove default fields to gather exactly what you need.
Pro-Tip: When using the State field you will need to also include the Country field in your form
Add fields
Click Add fields at the bottom of the list of fields
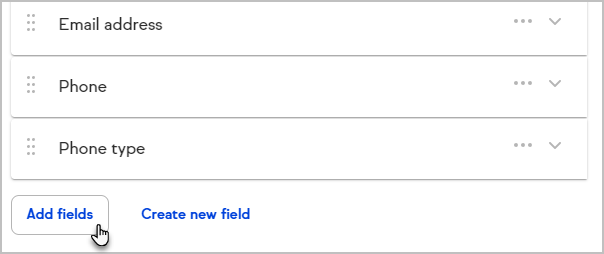
Select the desired field
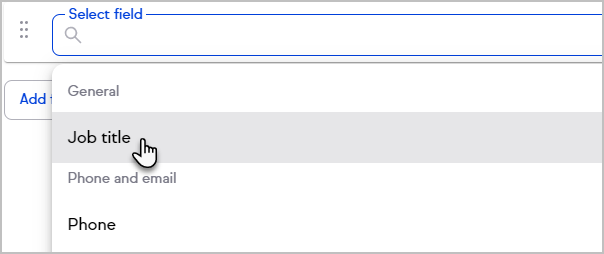
Repeat these steps until you have added all your desired fields
Click Next
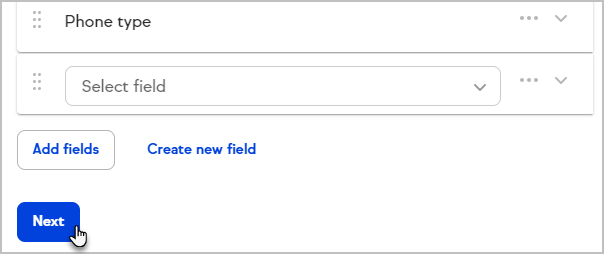


Create new custom fields
Save time and stay in the zone instead of navigating to other areas of Keap when you realize you need a new custom field to capture a piece of information. Click the Create new field button to quickly create a custom field and continue working on your form.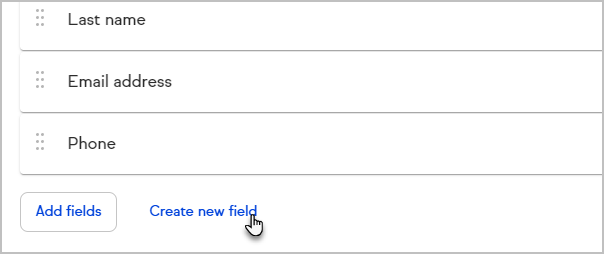
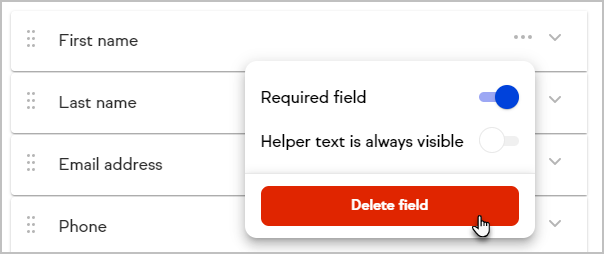
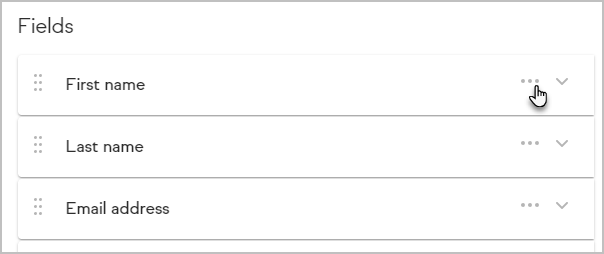
Delete fields
- Click the ... button to open the overflow menu
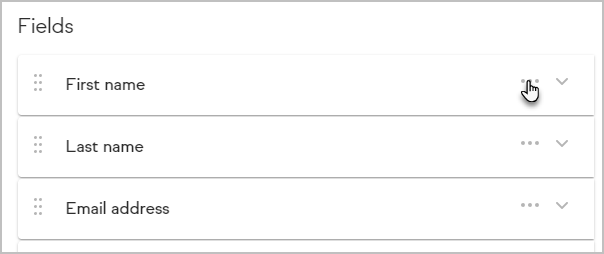
- Click Delete field


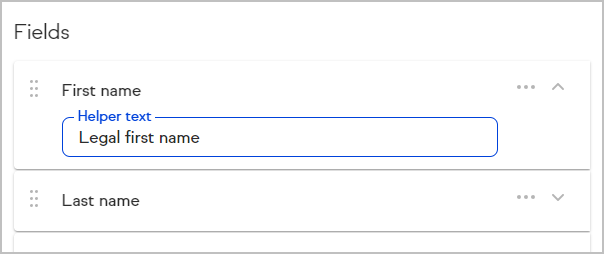
Helper text
Helper text will be stored in an icon next to a field or underneath fields in your form and can serve as a reminder for what type of information should be gathered.
- Click the arrow icon to the right of a field to add help text to it
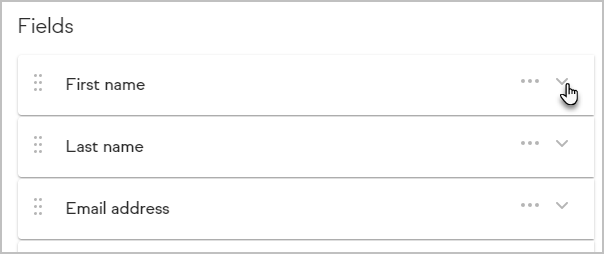
- Enter your helper text in the field
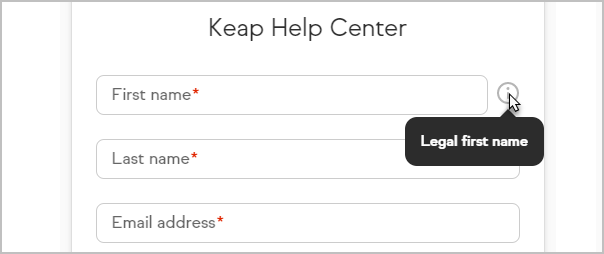
- This text will display when someone hovers their cursor over the information icon on your form


To always show your helper text beneath a field:
- Click the ... button to open the overflow menu
- Toggle the Helper text is always visible to the on position
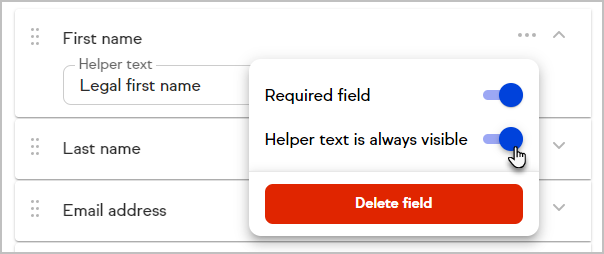 The helper text will always be provided beneath the field.
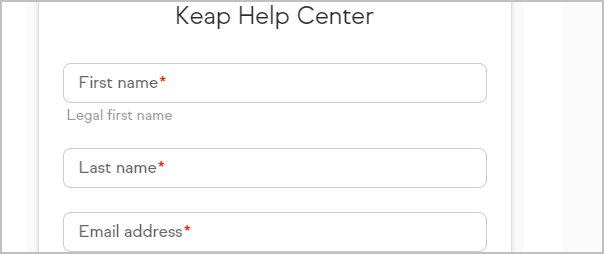

 The helper text will always be provided beneath the field.
Internal fields
Public forms can be used to add notes to your contacts in Keap.
- Scroll to the Internal section of the add field menu
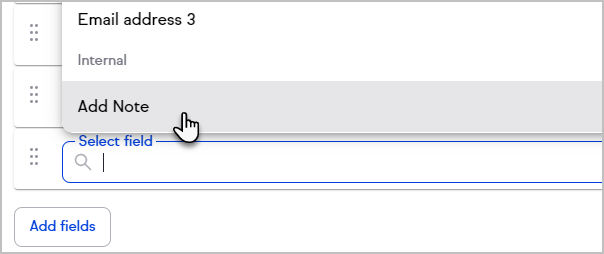 The Add Note field will include a text field on your form that will create a note on the Contact record
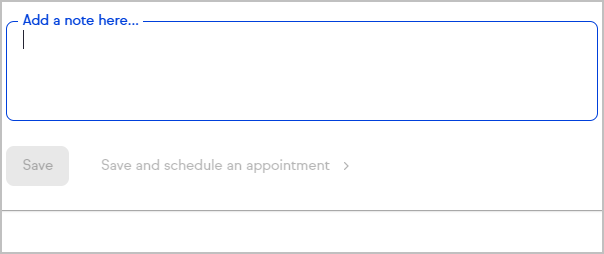
 The Add Note field will include a text field on your form that will create a note on the Contact record
Reorder form fields
- Click and hold a form field
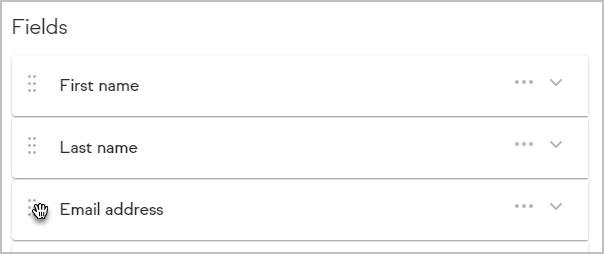
- Drag the field and release the mouse button to change the form's order


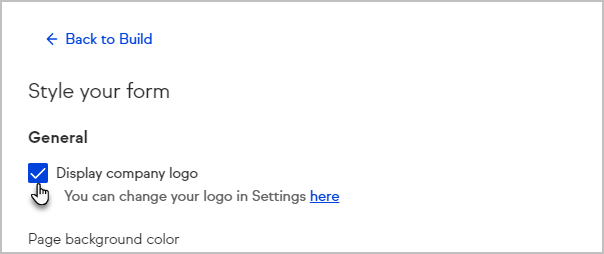
Step 2: Style your form
Customize the appearance of your form by choosing to display your logo, setting a page background color, button background color, button text color, and button alignment.
- Choose whether or not your company logo should be included on your form
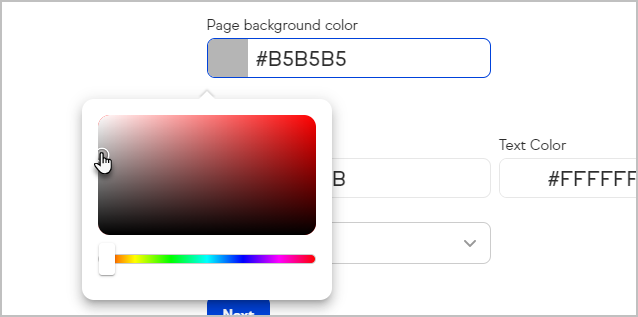
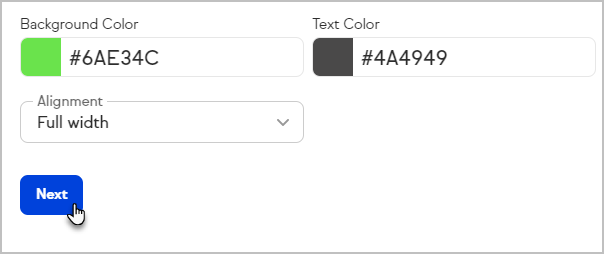
- Select a page background color to match the site where you'll embed your form
- Set your button's background and text color
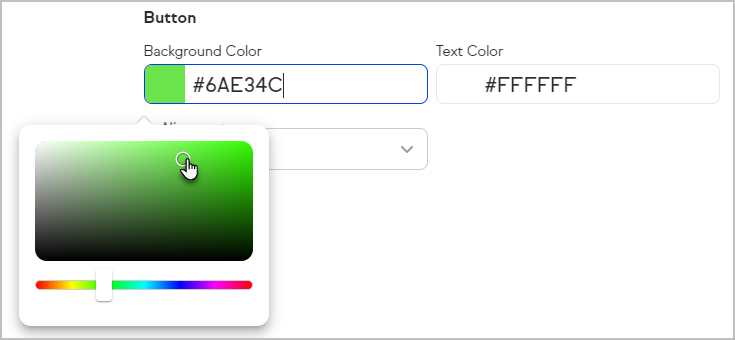
- Choose your button's alignment
Note: "Full width" will stretch the button to be as wide as your form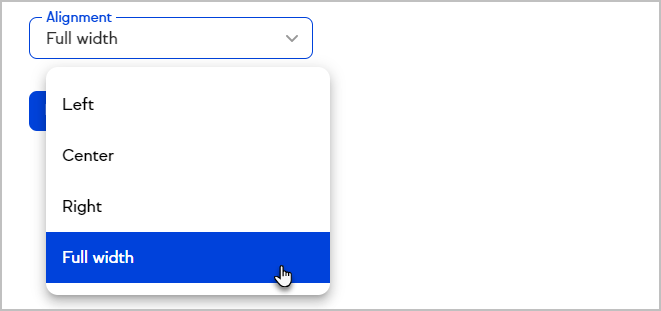
- Click Next


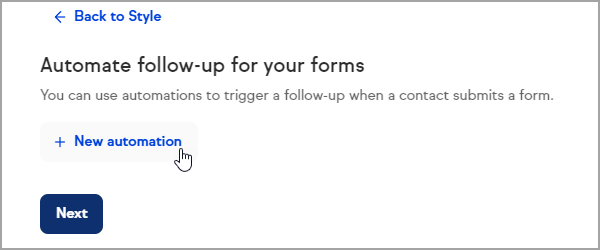
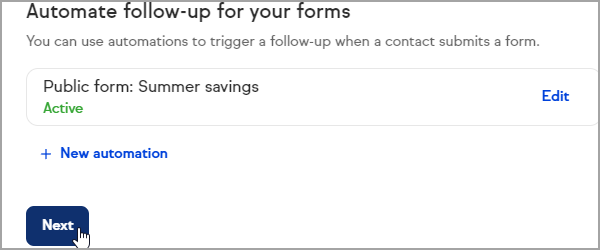
Step 3: Automate follow-up for your form
- Click New automation
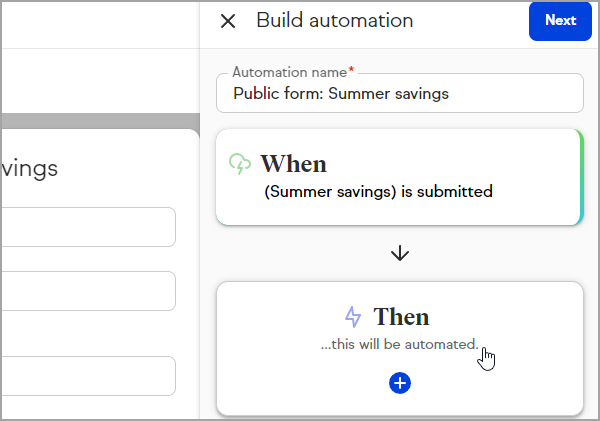
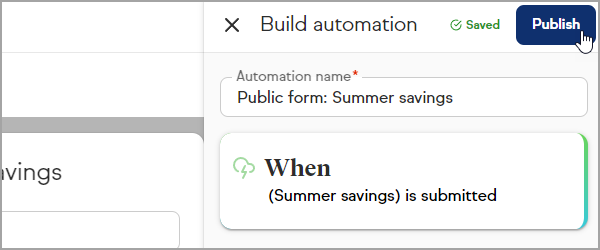
- The Easy Automation builder will slide in from the right with a pre-named automation and the When already set
- Click Then to create your easy automation
- Once your automation is set, click Preview
- Click Publish
- Click Next


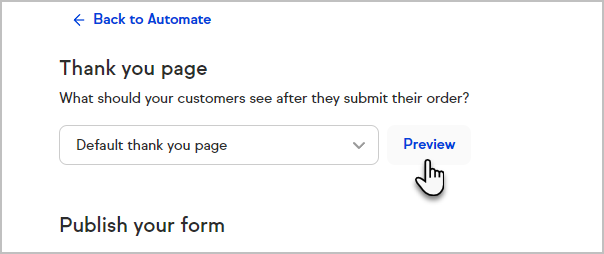
Step 4: Publish your form
Once your form is ready to go, you can embed it directly on your website or share a link to a Keap-hosted page containing your form. Any time you need your embed code or hosted page link, you can return to this step of the form builder.
To preview the Thank you page, just click the Preview button
You can also redirect the user to your own custom Thank-you web page by selecting the option in the drop-down and entering your URL.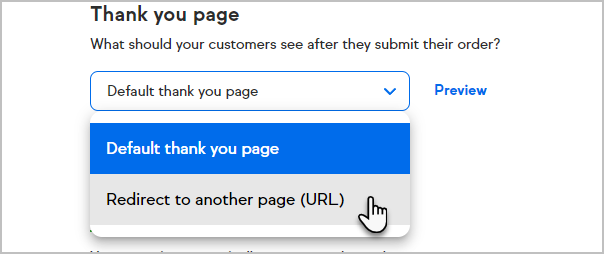
Embedded form
To embed the form, copy the code from Keap and paste it into your site's HTML.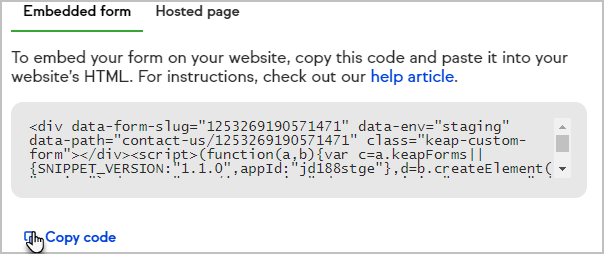
Hosted page
To get a shareable link that goes directly to your form, click the Hosted page tab and click Copy link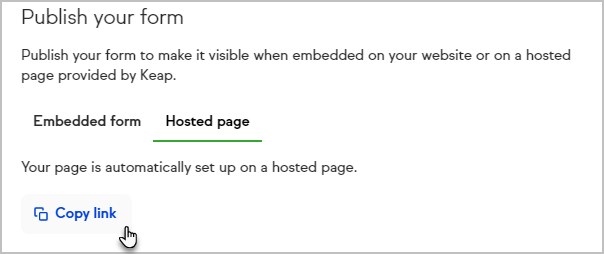
Customize your form's confirmation email
If you do not automate your form in Step 3 when creating your first public form, Keap will create an Easy Automation to send a confirmation email to your new leads and all users in your Keap app. You can customize this email by modifying the message, when it sends, which public forms trigger it, and much more.
- Save and publish at least one public form
- Navigate to Automations > Easy
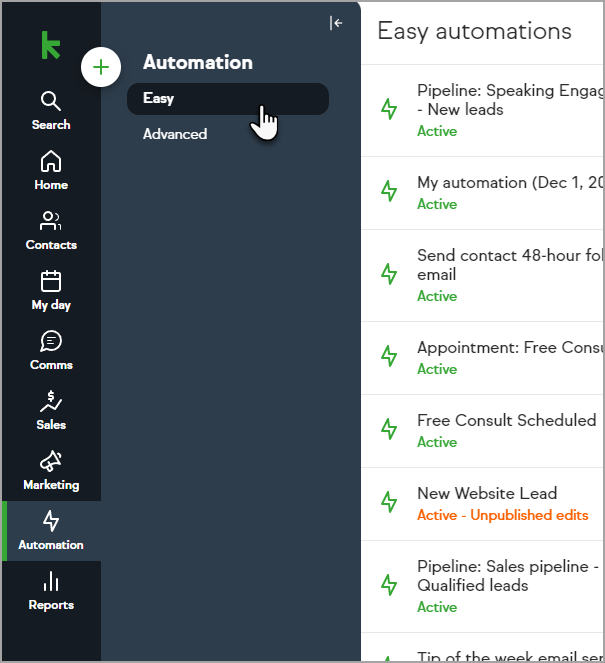
- Ensure you are on the Easy tab and click your New lead follow-up automation
- If you cannot find your New lead follow-up automation, you can create it from your templates.

- Click the When card to modify what triggers this automation

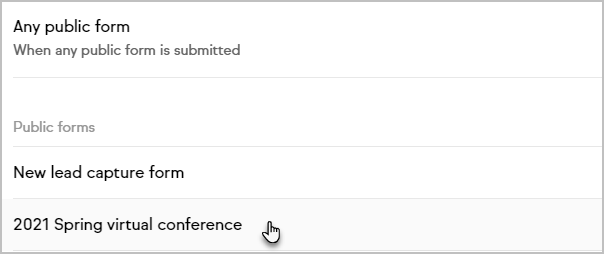
- Expand the card and click the edit button to change which forms trigger the automation
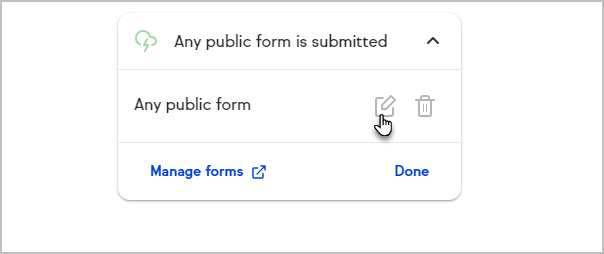
- Select which form triggers the automation: either a single, specific public form or all of your public forms
- Click the Then card to modify what actions occur
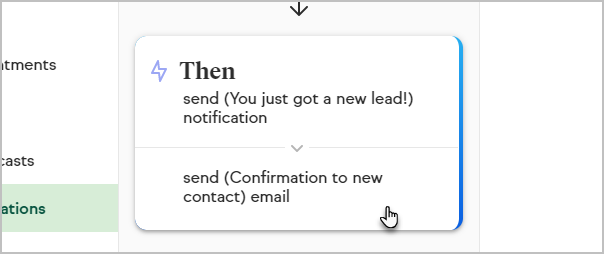
- Expand one of the existing actions and click the edit button to modify it, or add additional actions by clicking the + button
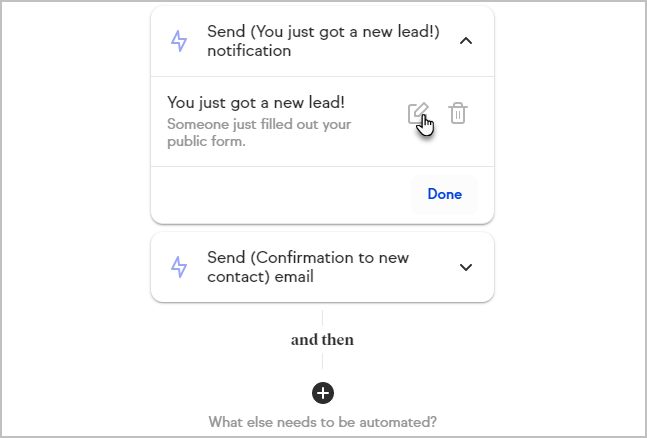
- When modifying the email confirmation sent to a customer, you can set the email title, subject, sender, and message.
When modifying the notifications Keap users receive for a public form, you can set the notification recipient, type, subject, desktop or mobile content, and email content. - Click Next once you've made your updates
- Update the timing of the action and click Next
- Click Preview once you've finished modifying the automation
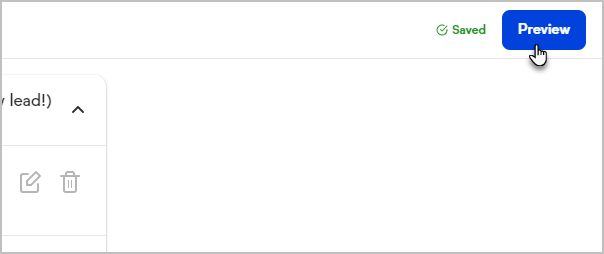
- Click Publish edits to finalize your changes and make them live


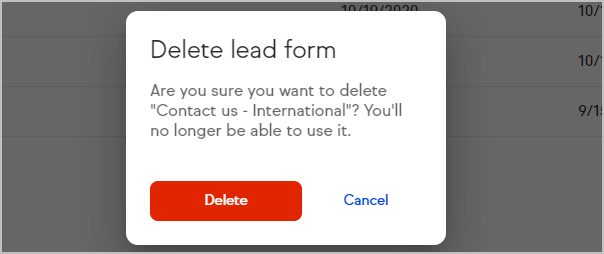
Delete a public form
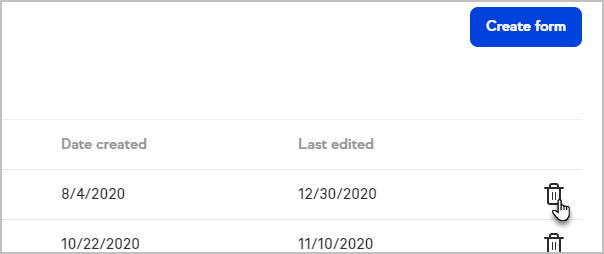
- Navigate to the Public forms page
- Click the trash bin icon next to the form
- Confirm your choice by clicking Delete